FabLab Electronic Instruments
Arduino, Analogue components, CNC, 3D Printers, Laser cutter, AutoDesk Fusion, Mach3, LazyCam, wood, acrylic
During my internship in the Fablab RUC I had the possibility of developing my own projects.
Since I really love electronic music, I started developing my own electronics and acoustics instruments.
You can find the acoustic instruments I've built in another project.
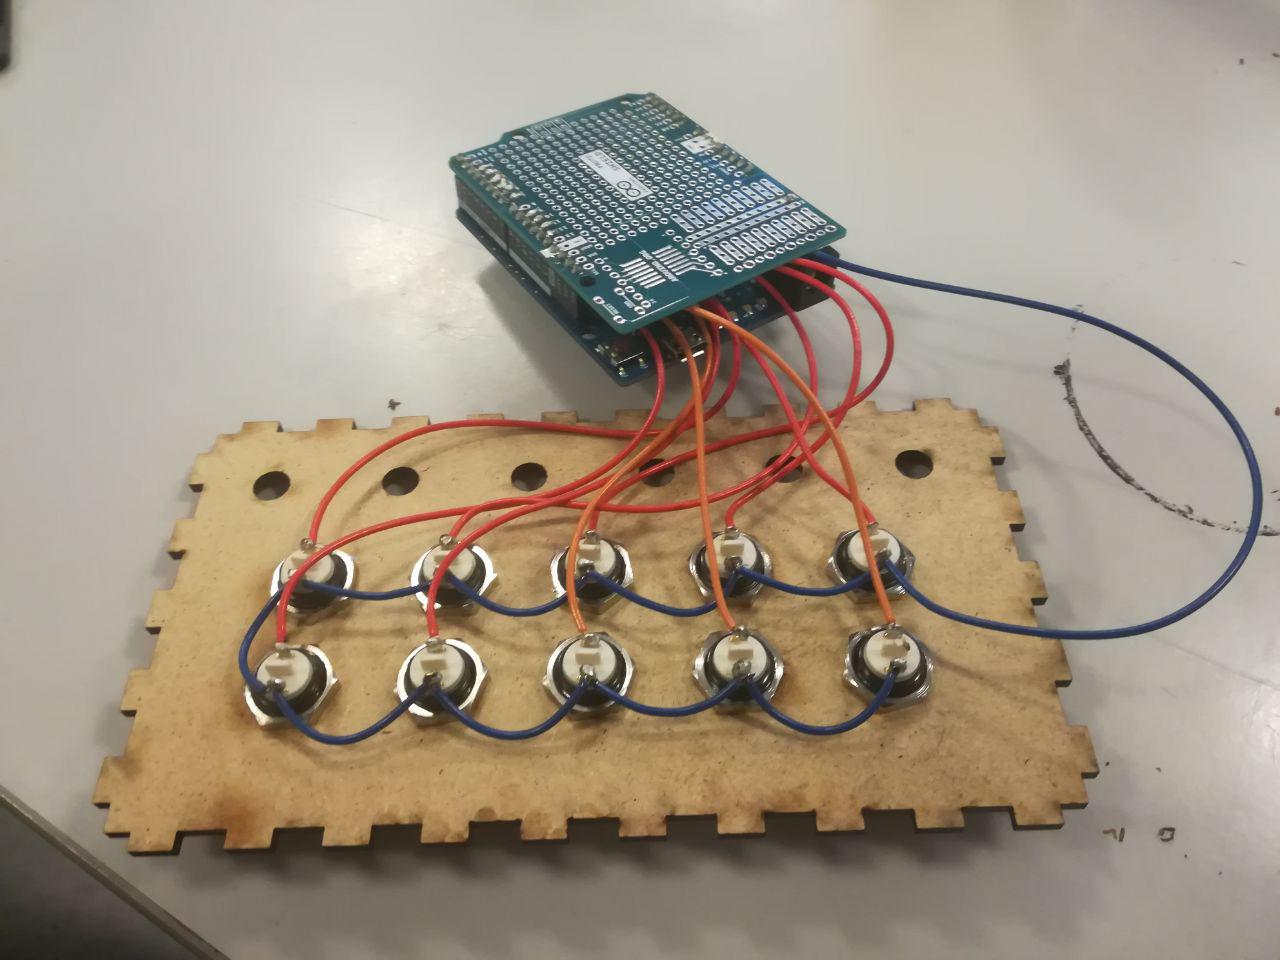
Since I came to Denmark without my MIDI controller, I choose to build one on my own, and this was my first project in the Fablab.
I needed a MIDI controller that worked with MIDI over USB to use with the "looper" in Ableton Live.
I chose to use an Arduino Leonardo since this board can work with MIDI over USB and so I didn't needed to change anything in the Firmware.
I did find lots of tutorials about the code and wiring part of the building. This was my first time using an Arduino,
but since I had some experiences with other programming languages was not so hard for me to write the code.
I did use scrap buttons from the lab and HDF for the case.
I also did the design of the knobs for the potentiometers in Fusion 360 as training and I 3D printed them.
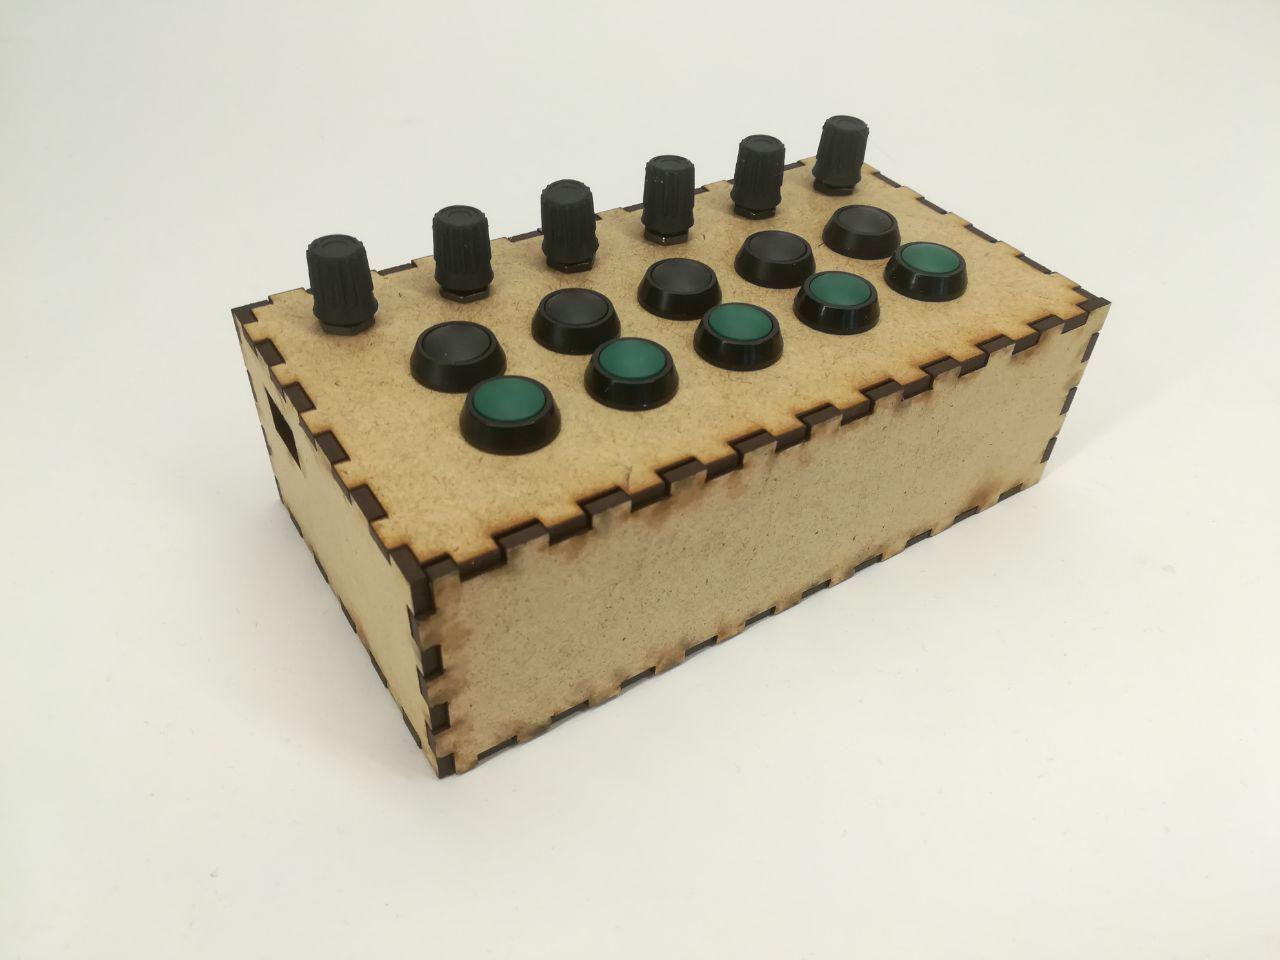
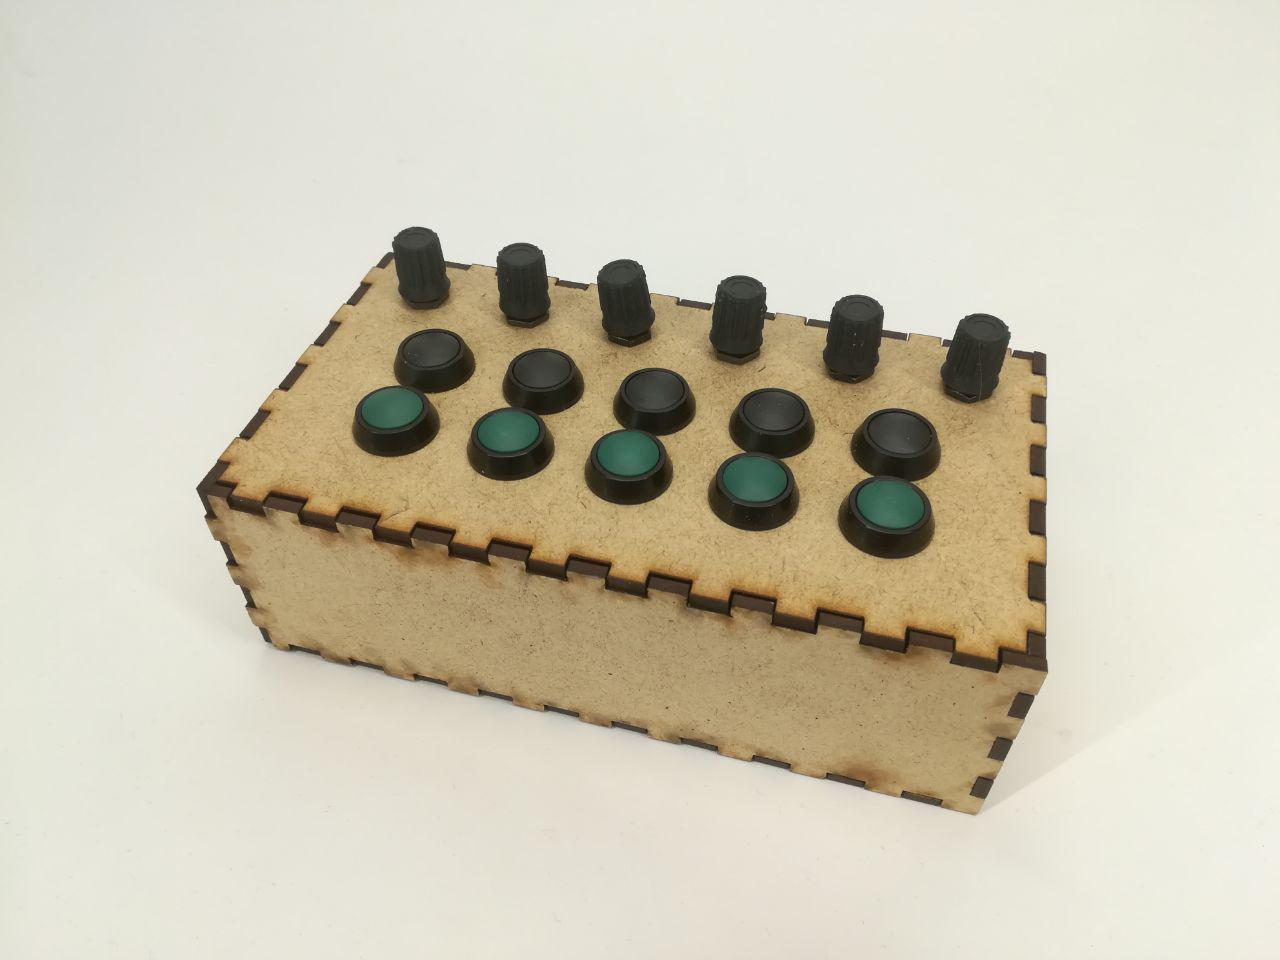
After this, I made a 4 channel mono passive mixer, using the same 3D printed knobs.
After 2 months using Arduino for creating my sound and after experimenting a lot with the Mozzi library,
I get bored of these Arduino-based synths. With the Mozzi library for example, was so easy to create a basic FM synth
using the examples and that was not so funny. For this reason I started experimenting with timers like 555, 505 and transistors.
Following a guide from
LOOK MOM NO COMPUTER
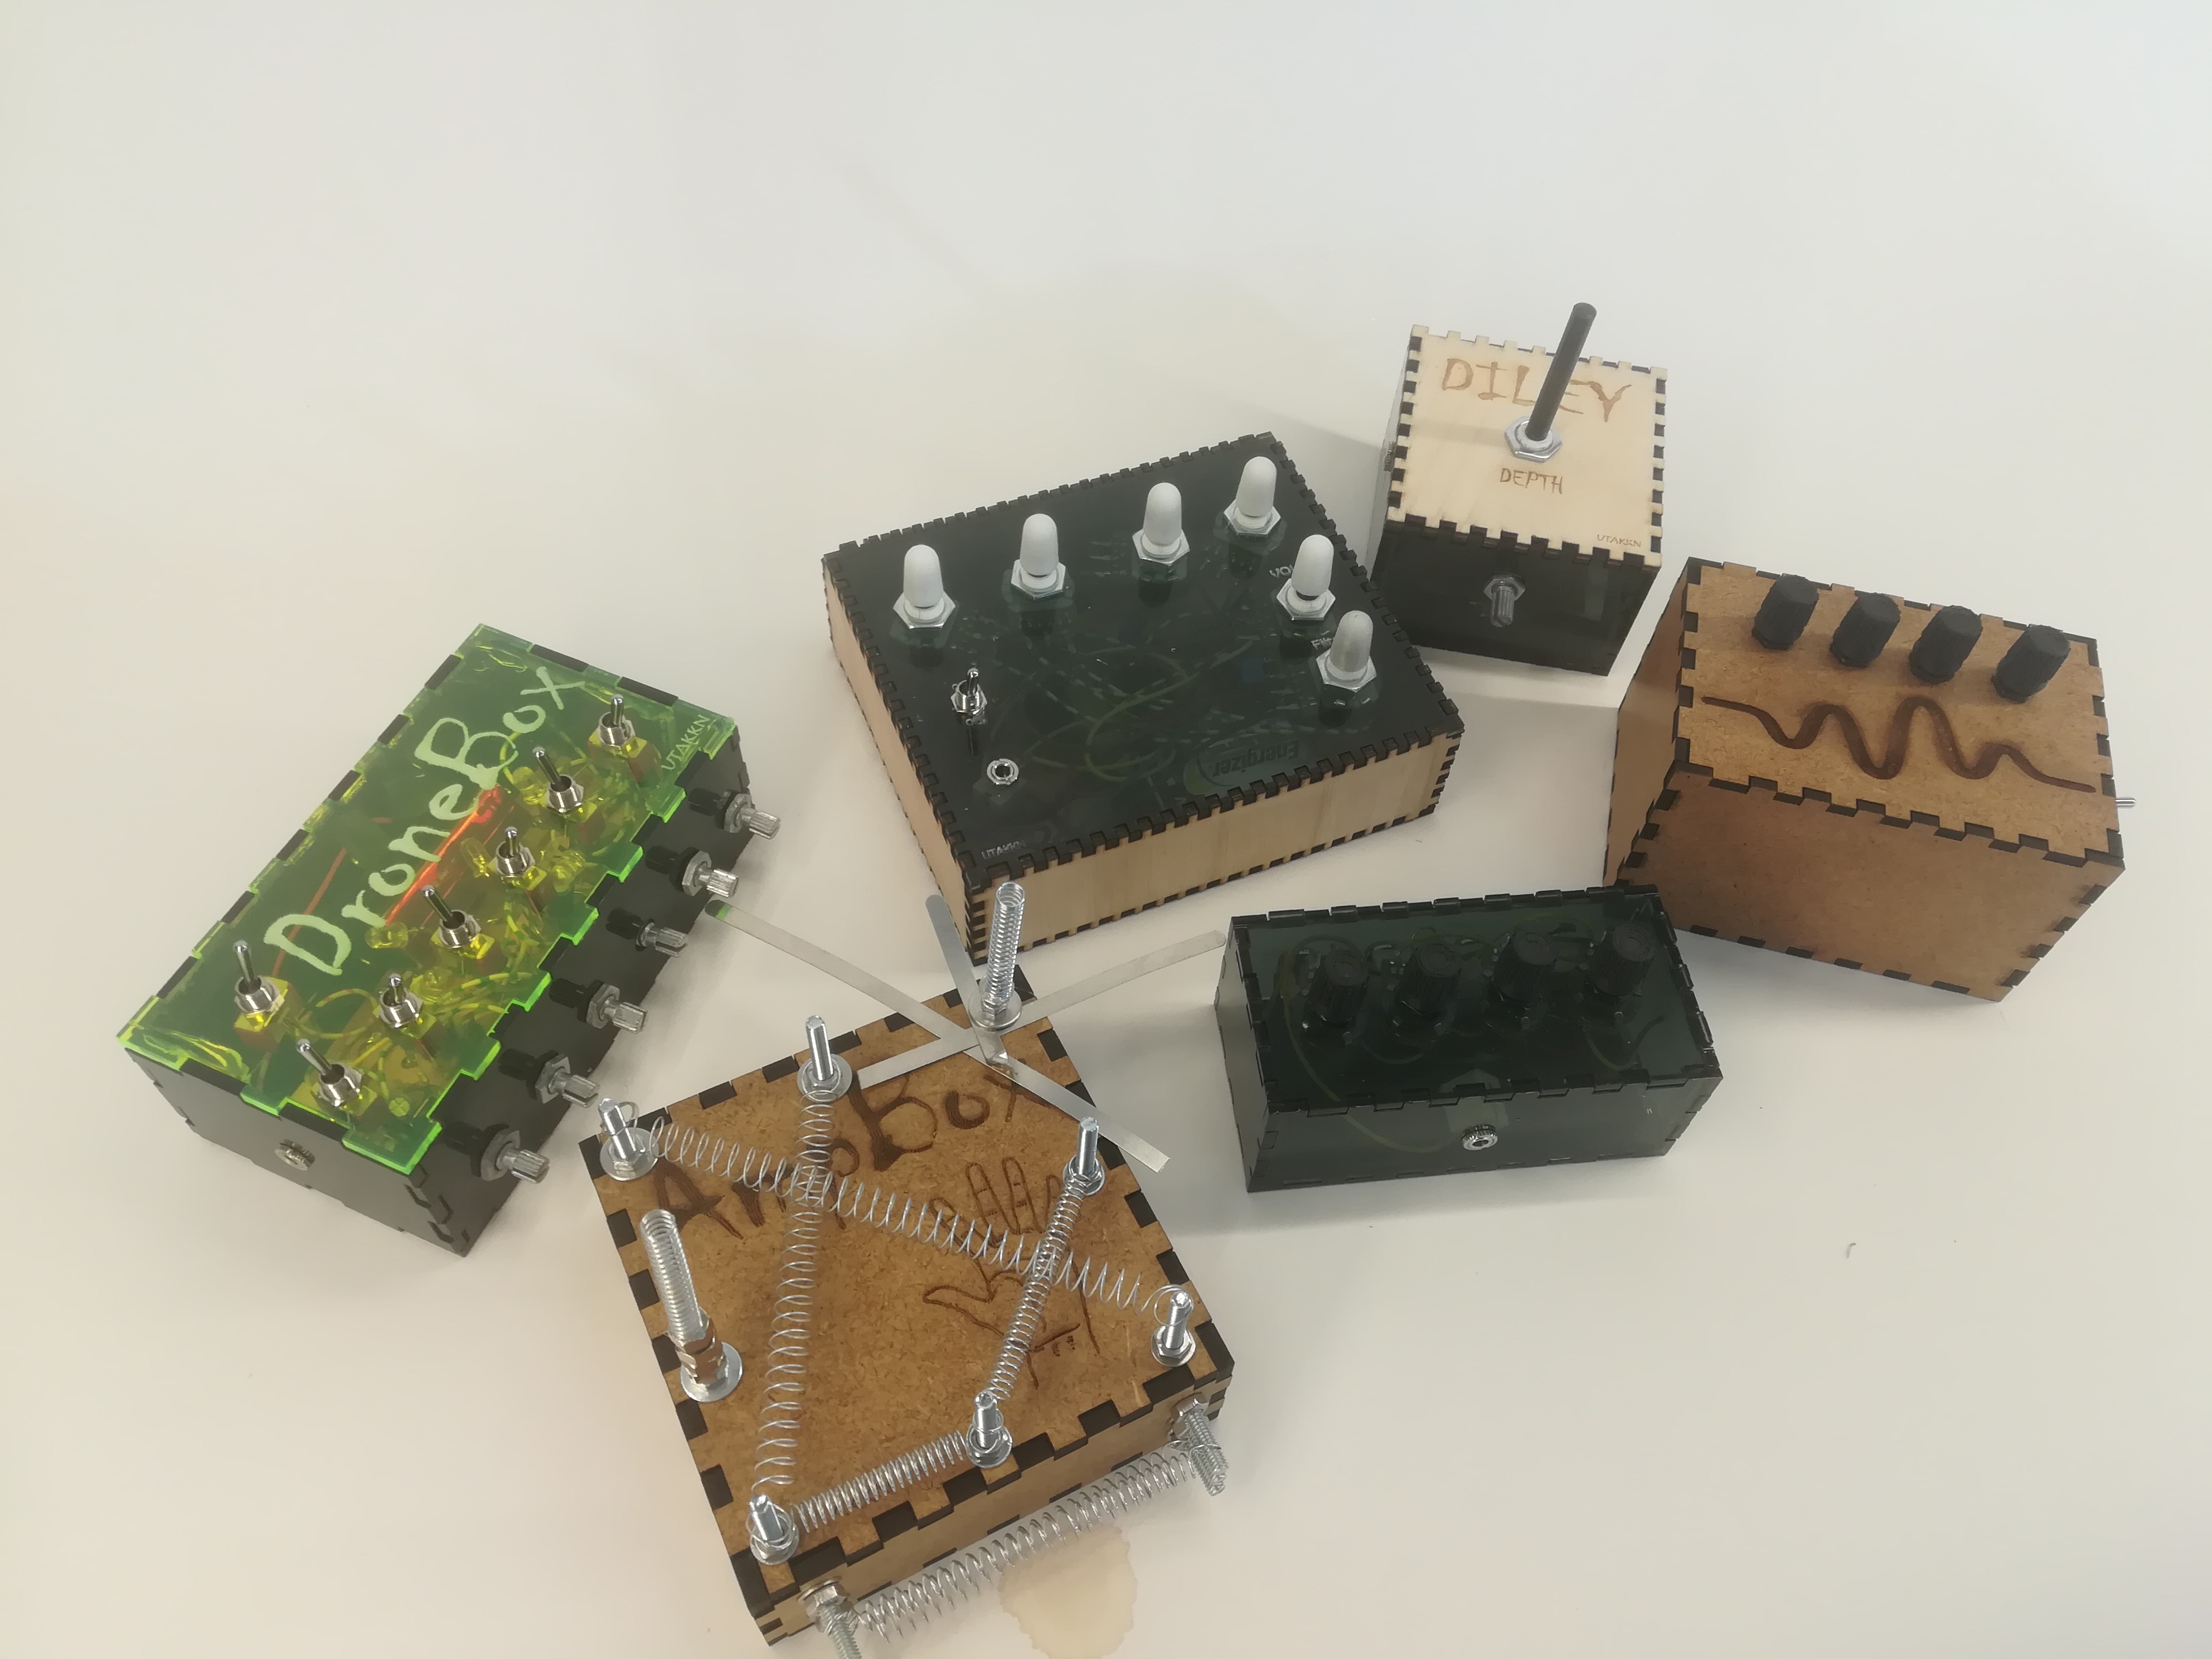
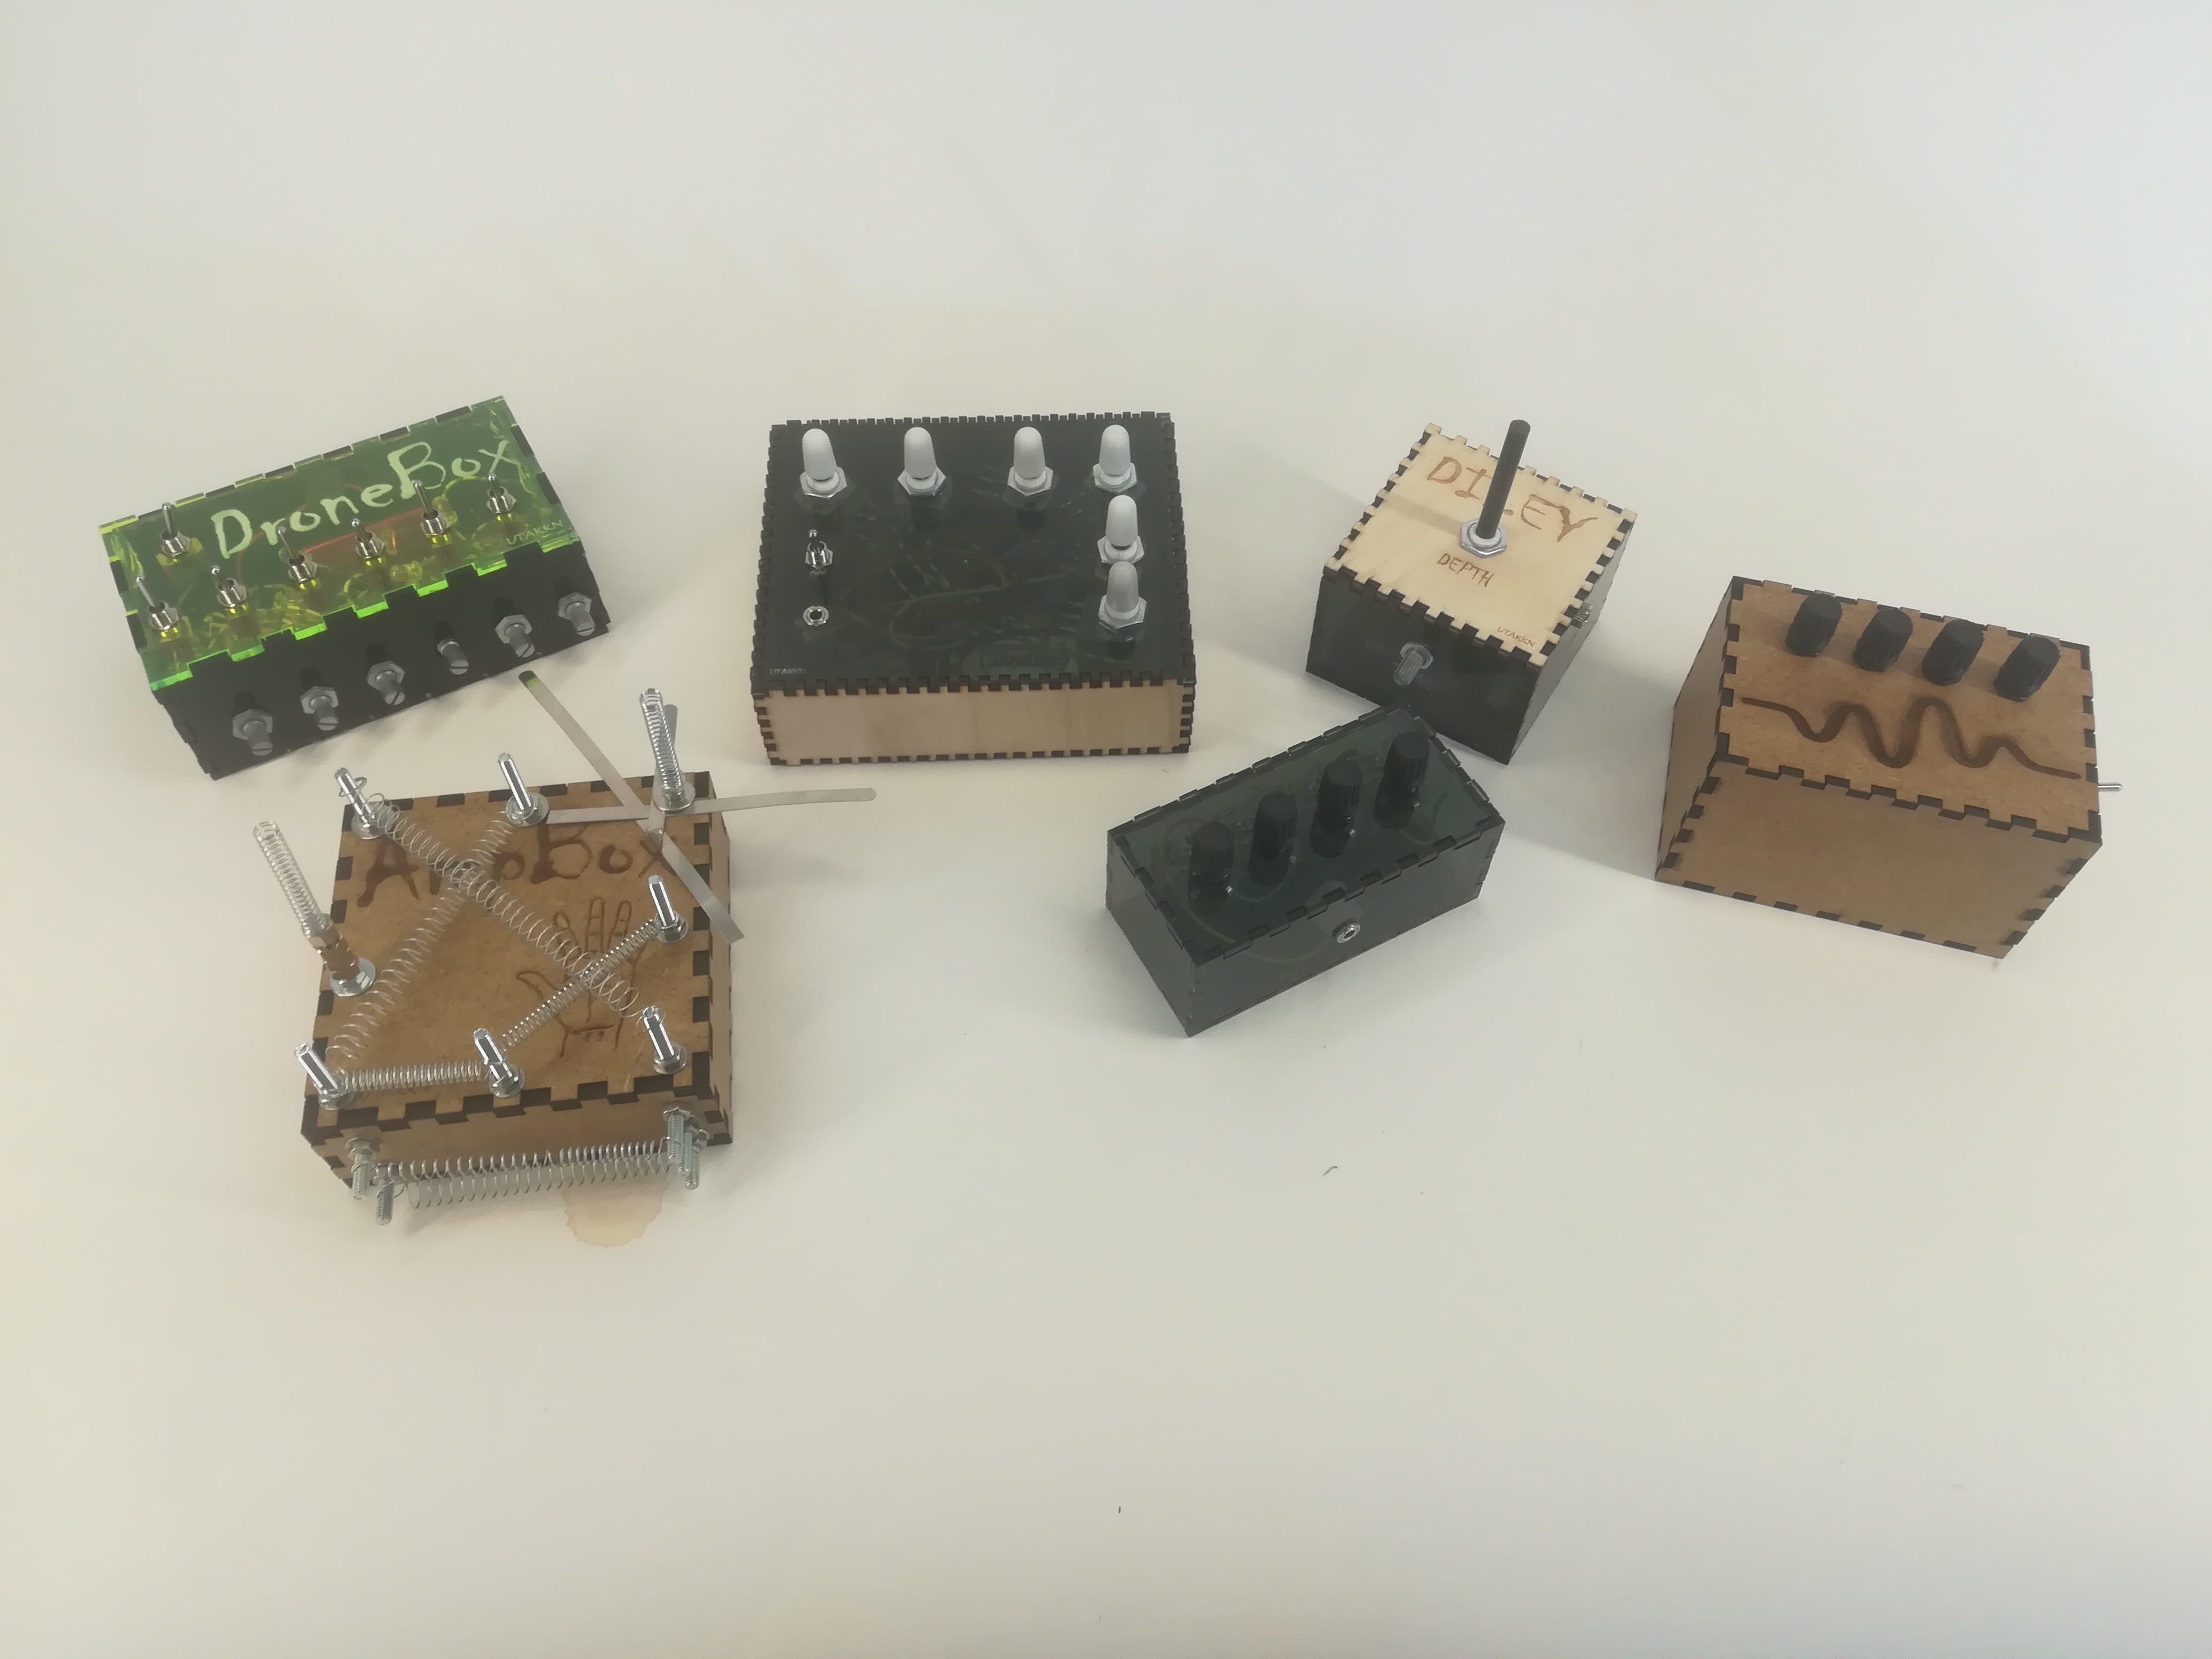
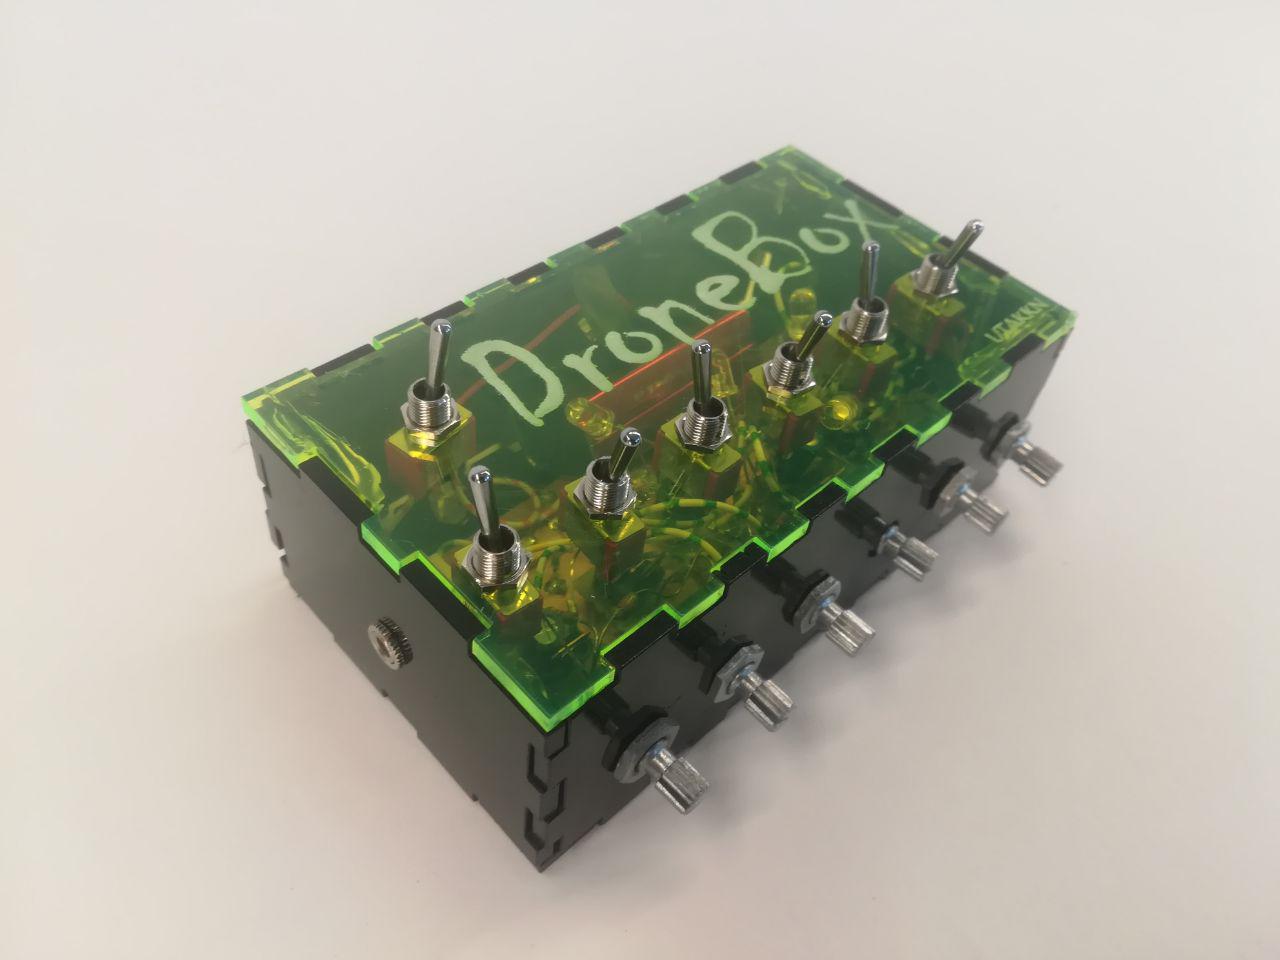
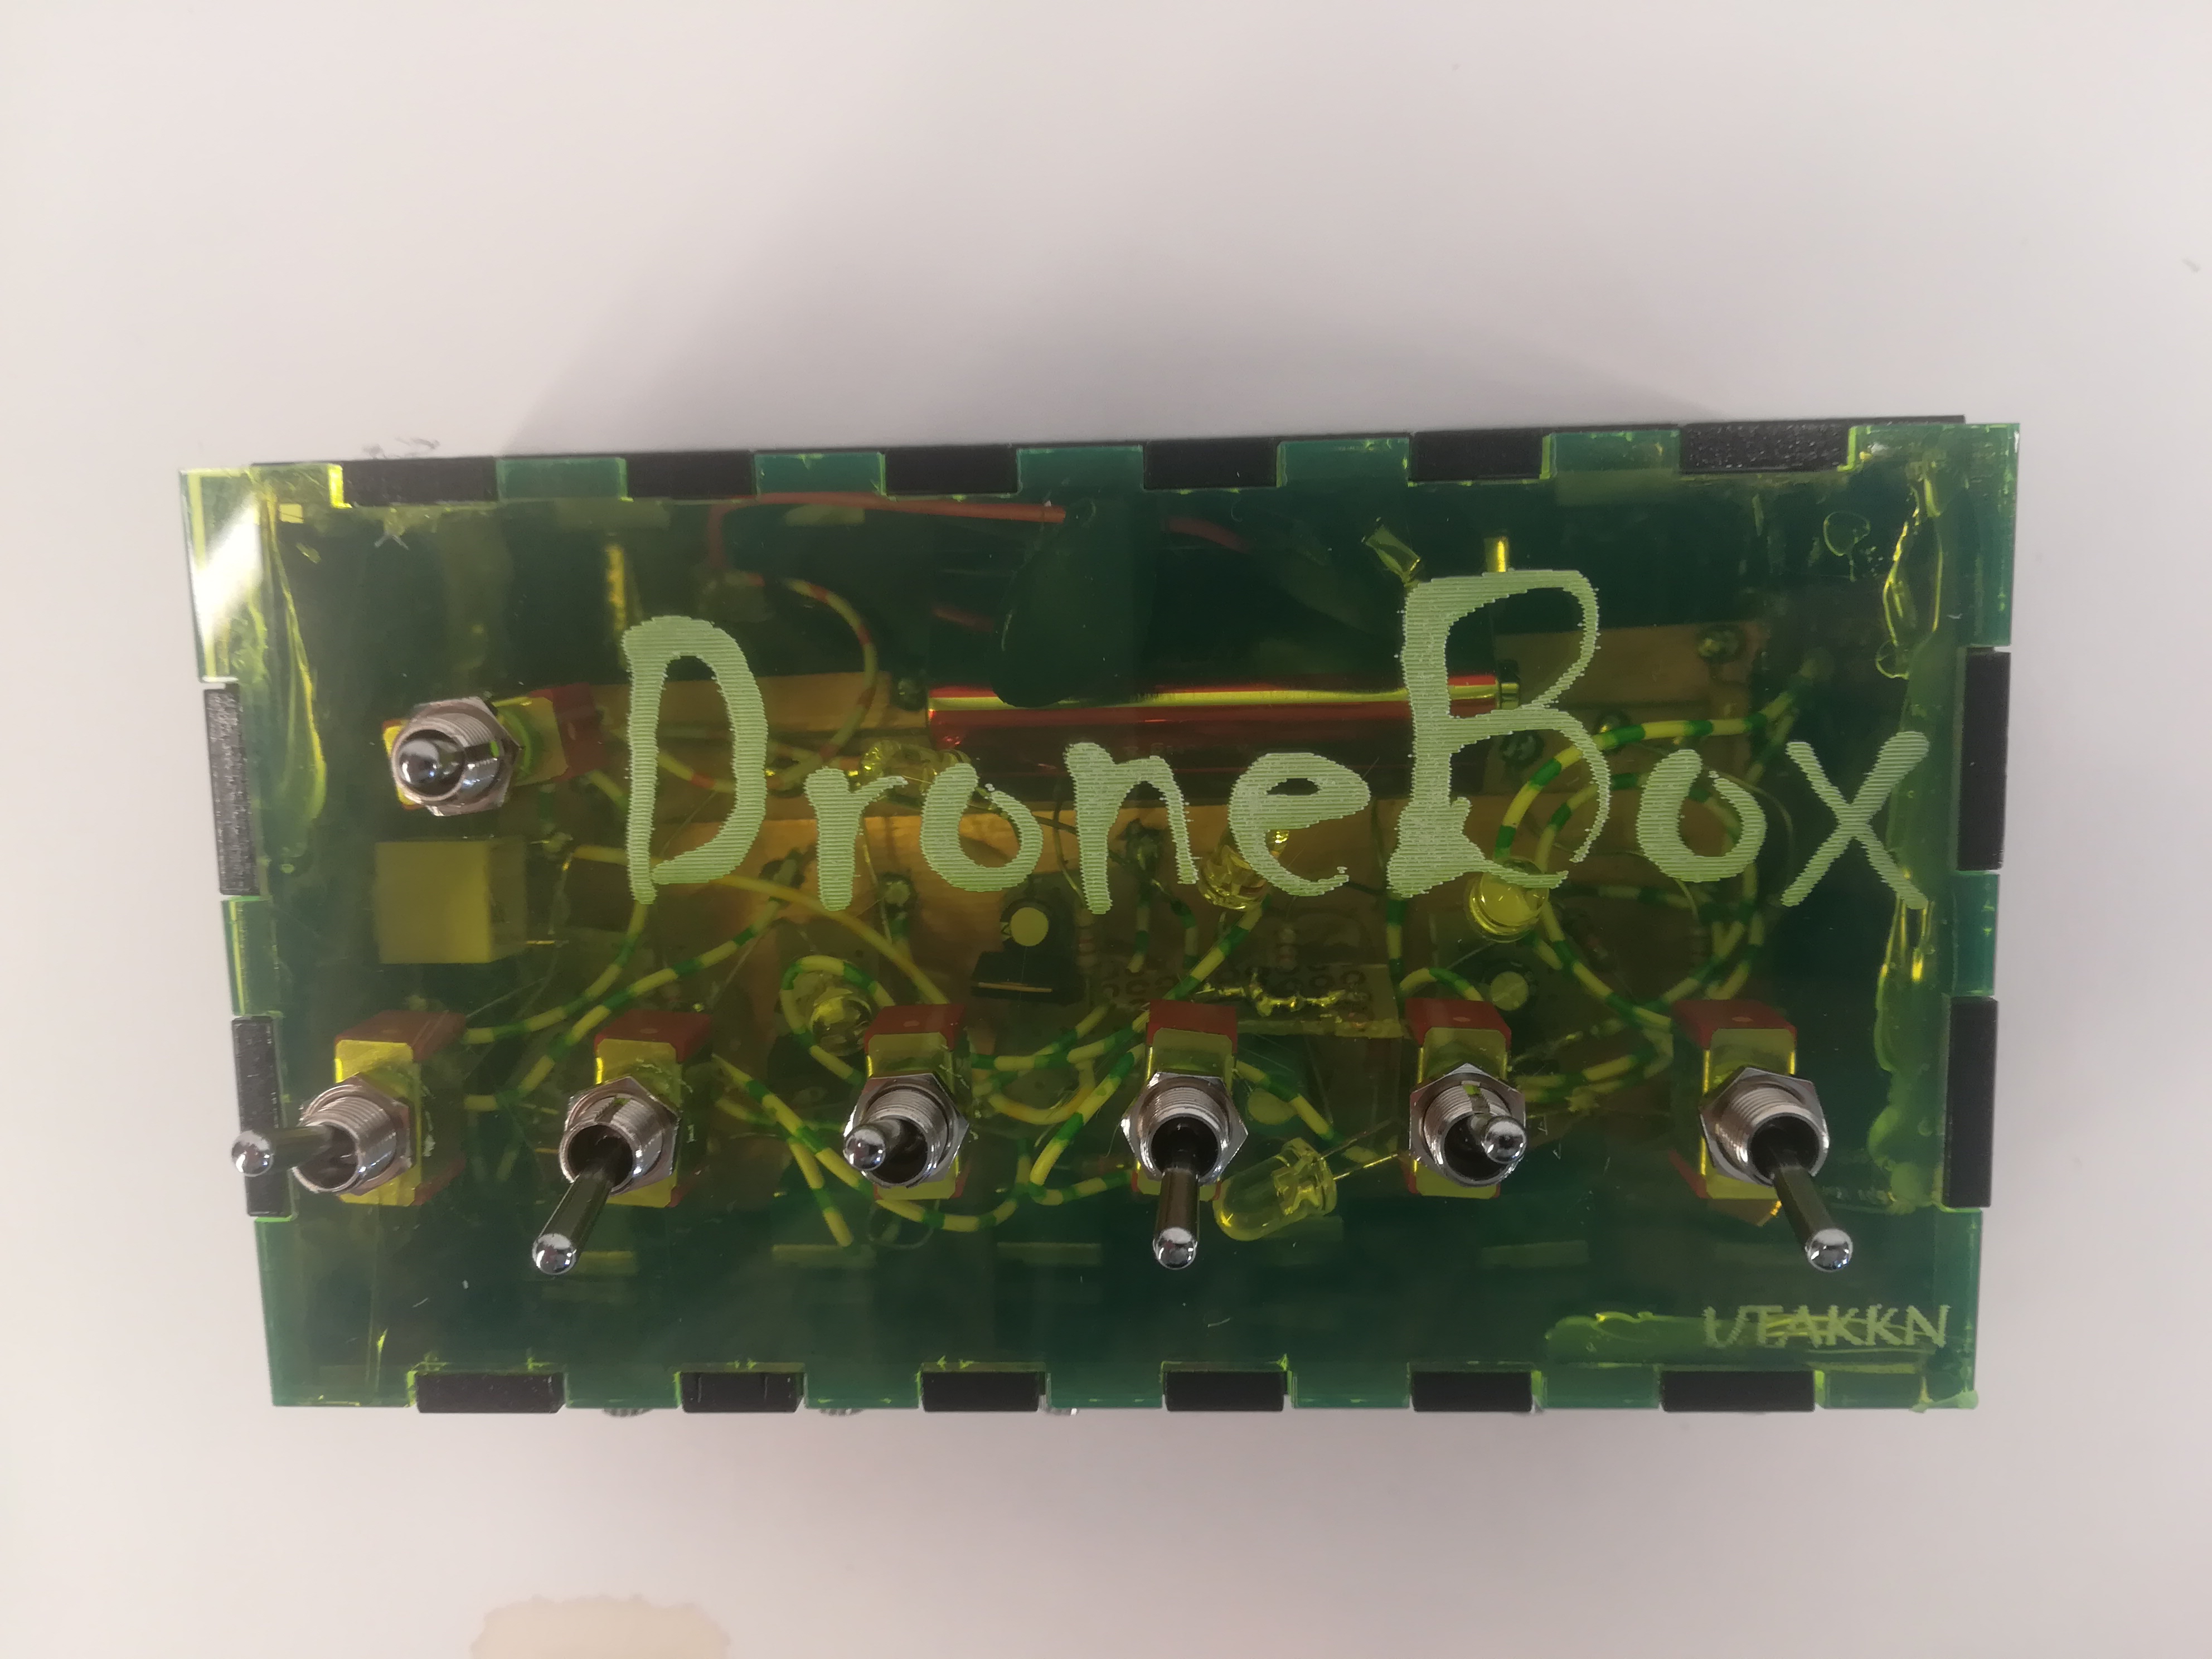
, I create my own Drone synthesizer using six BD505 transistor in avalanche mode mixed
together with a passive mixer.
The first prototype included a knob for each mixer channel and 2 photoresistor controlling 2 very high pitch oscillators,
to create a Theremin like instrument. To make the synth more simple I did remove the 2 photoresistors and the potentiometers
for the mixer and I put a switch for each mixer channel.
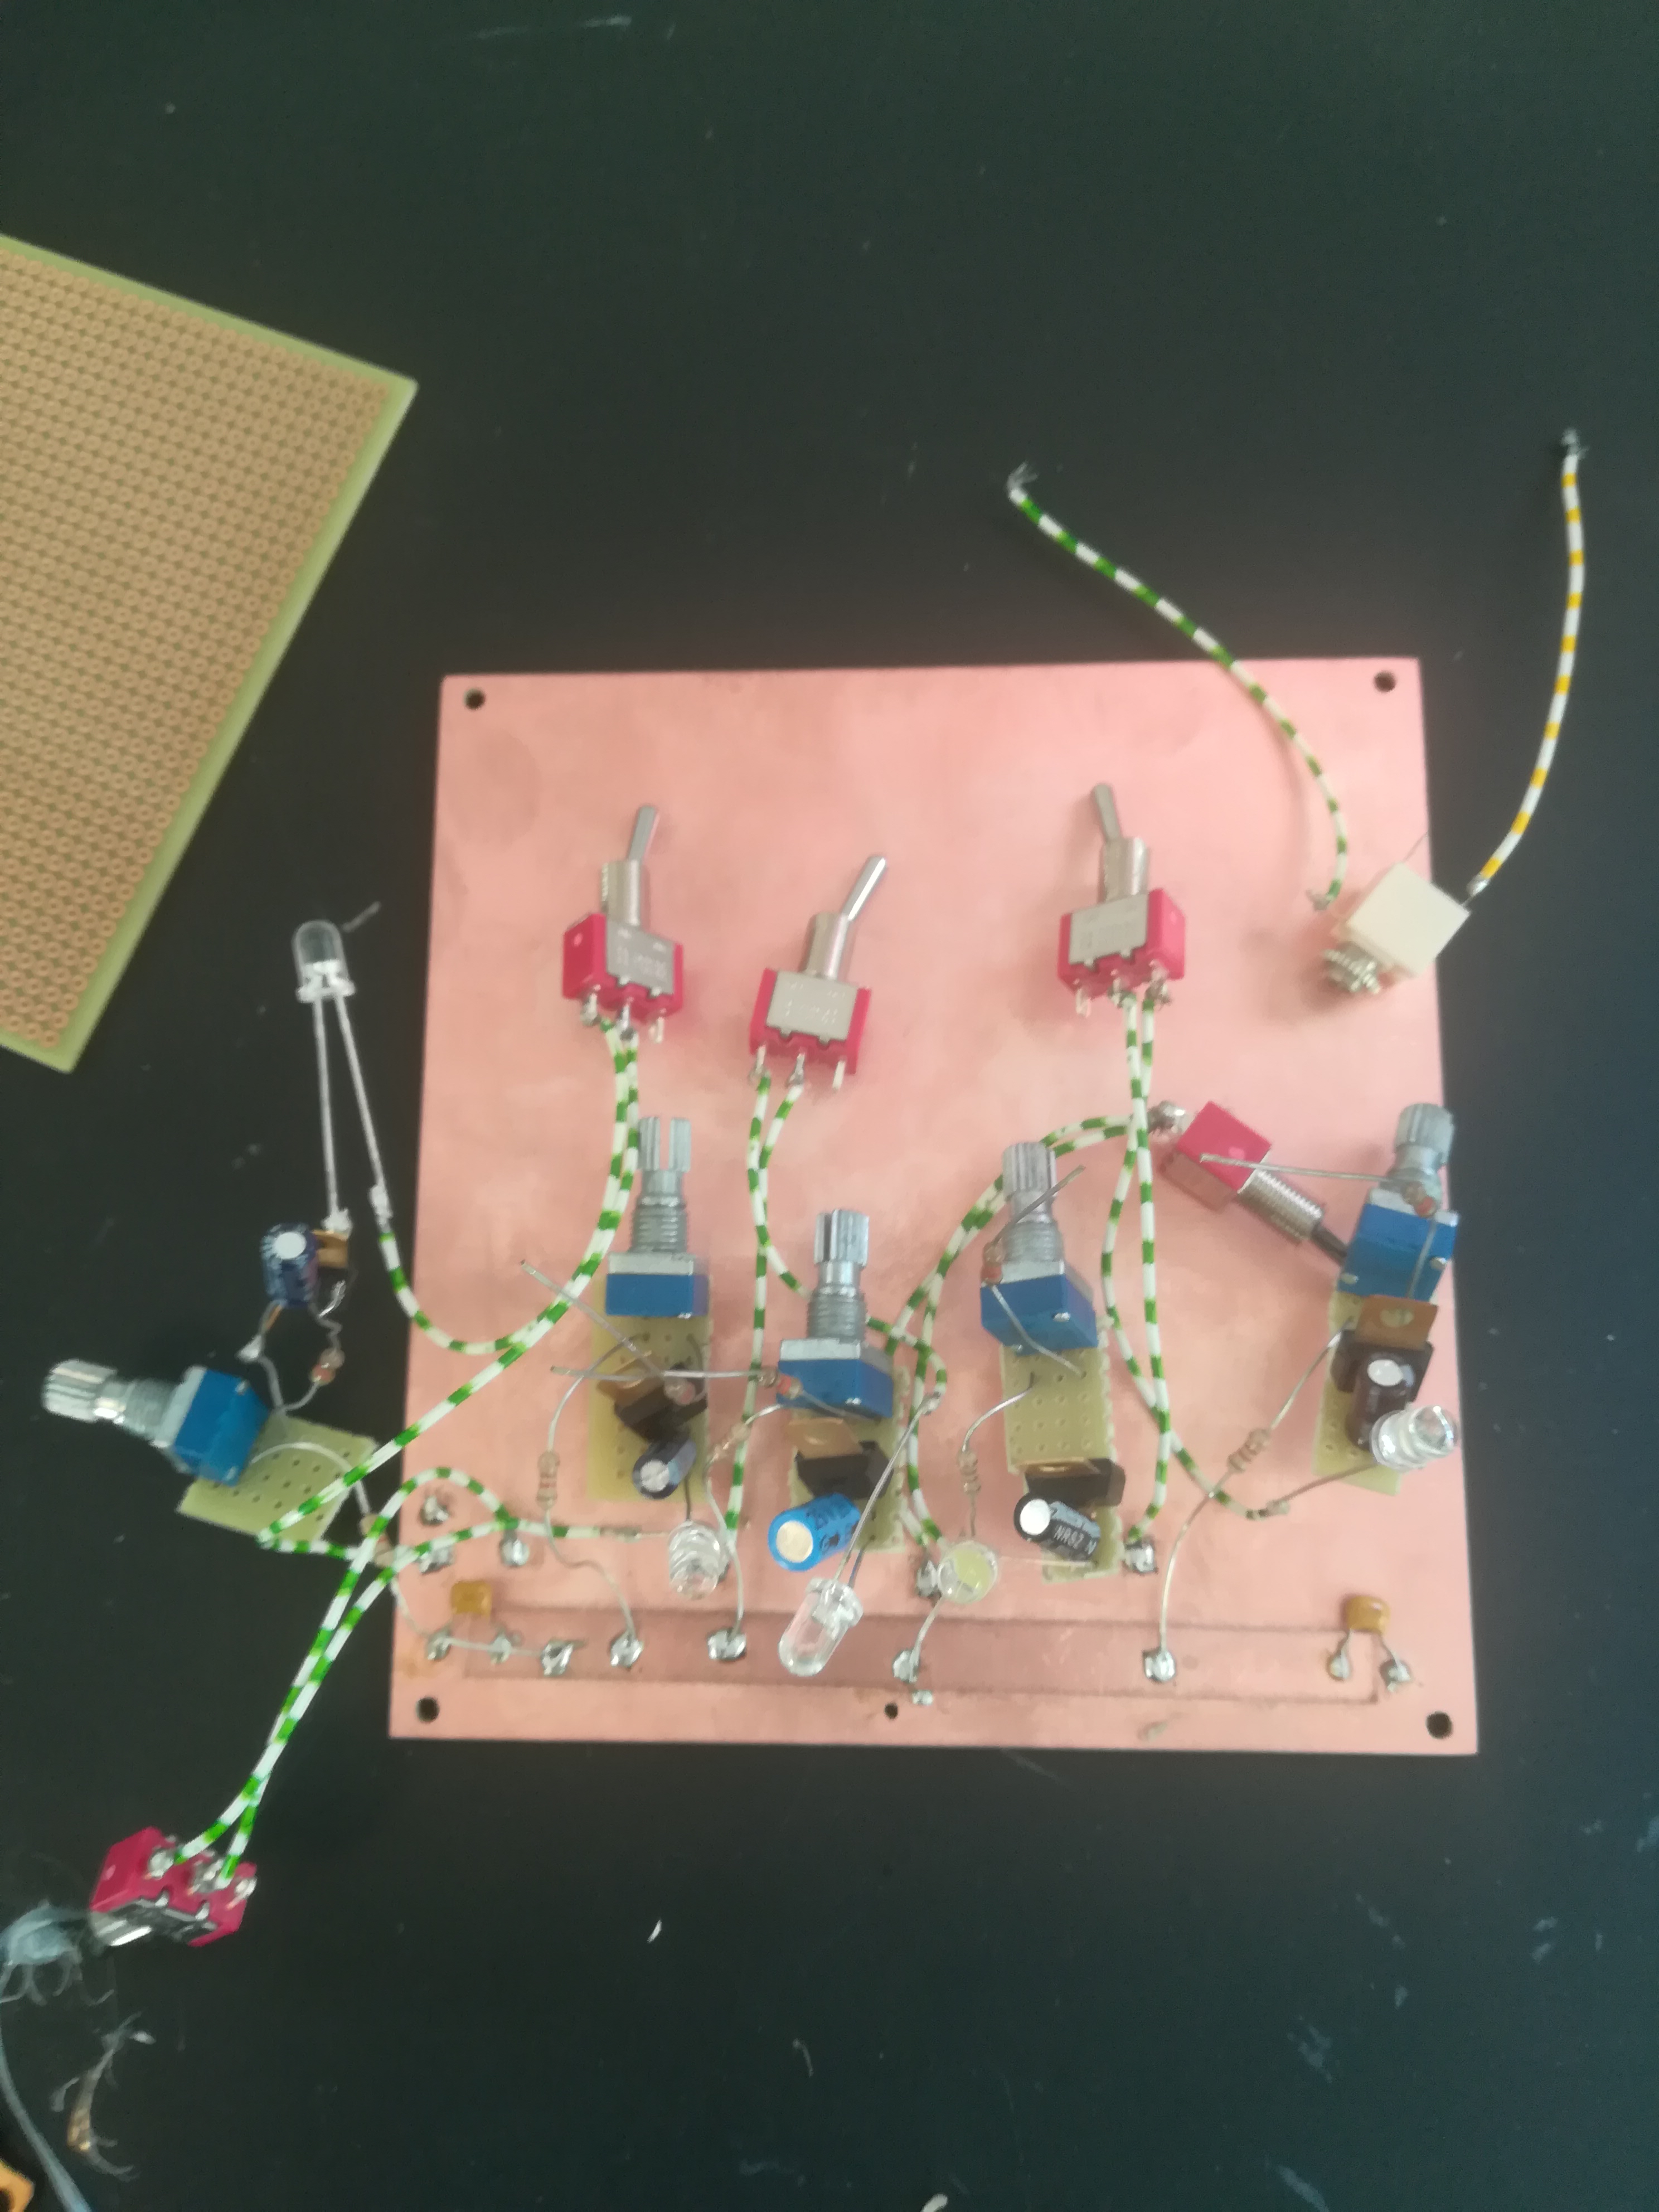
The synth is very simple, basically 6 transistors that work as noise source mixed togheter,
you can adjust the frequency of each source with a knob and choose to switch them ON or OFF.
I really love the sound this instrument produces, and is also very nice to see it working because each transistor has a
white LED as feedback, so when all 6 transistors are ON, you can see these white lights blinking with different frequencies and brightness.

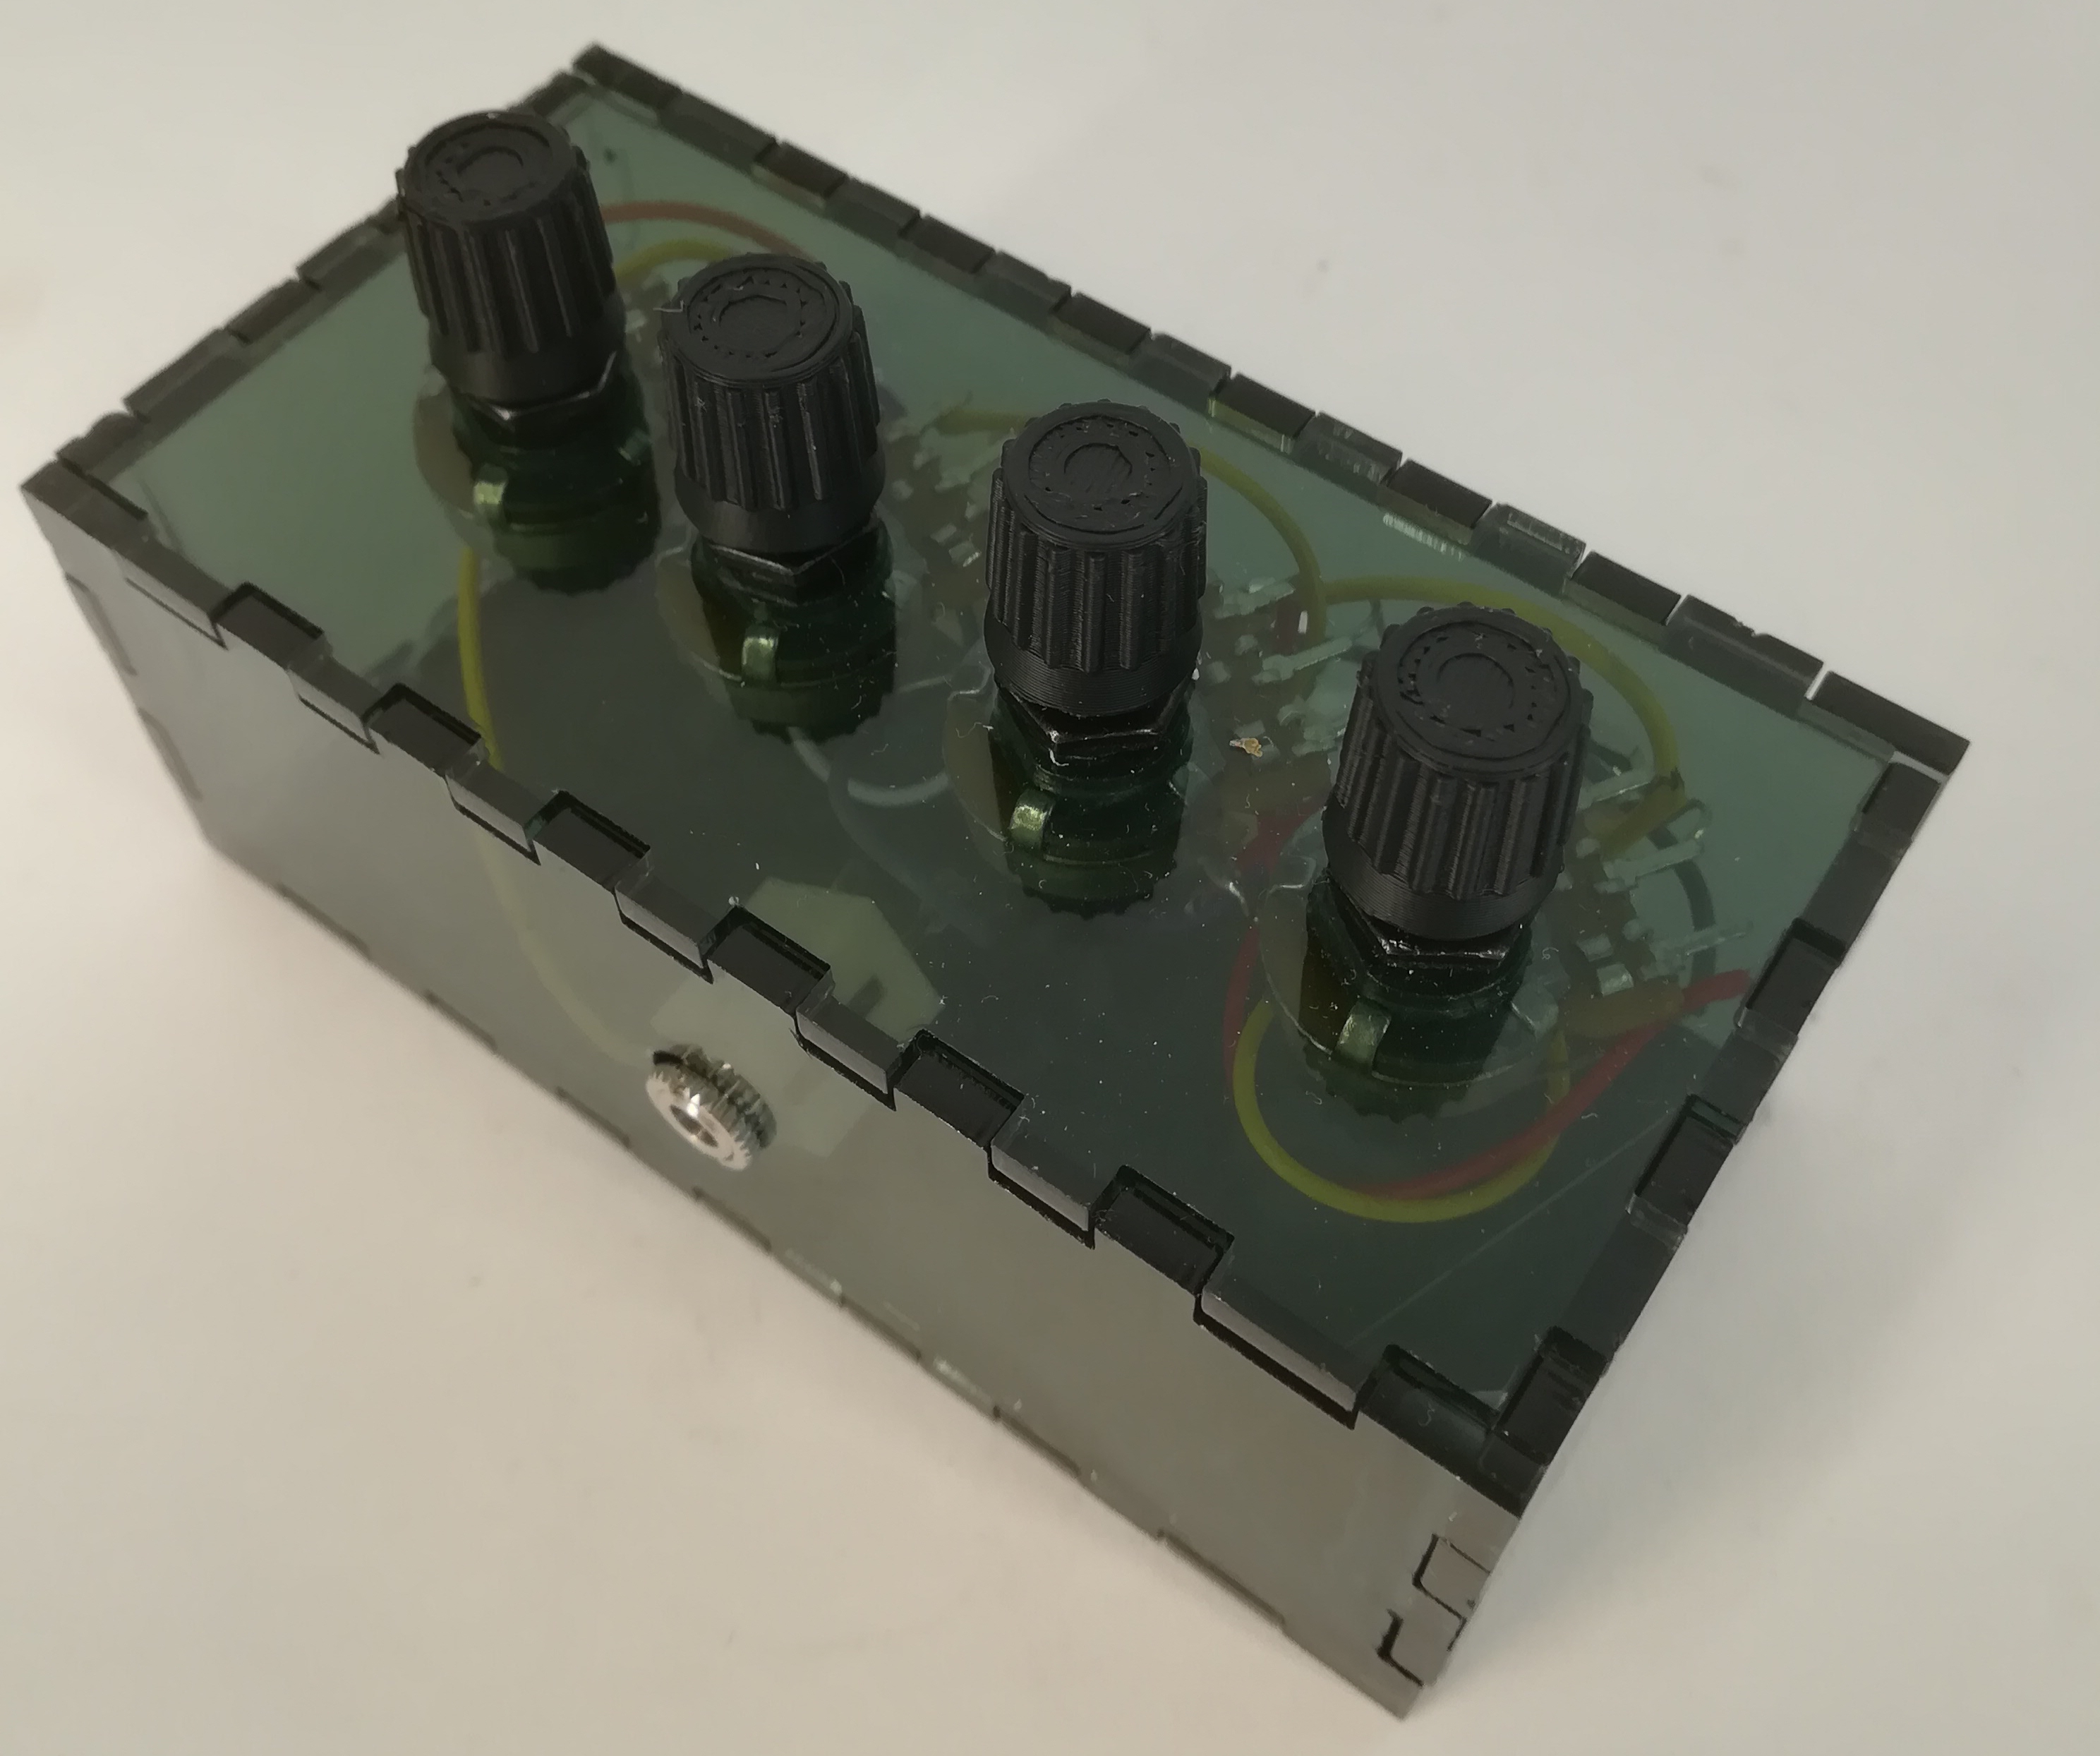
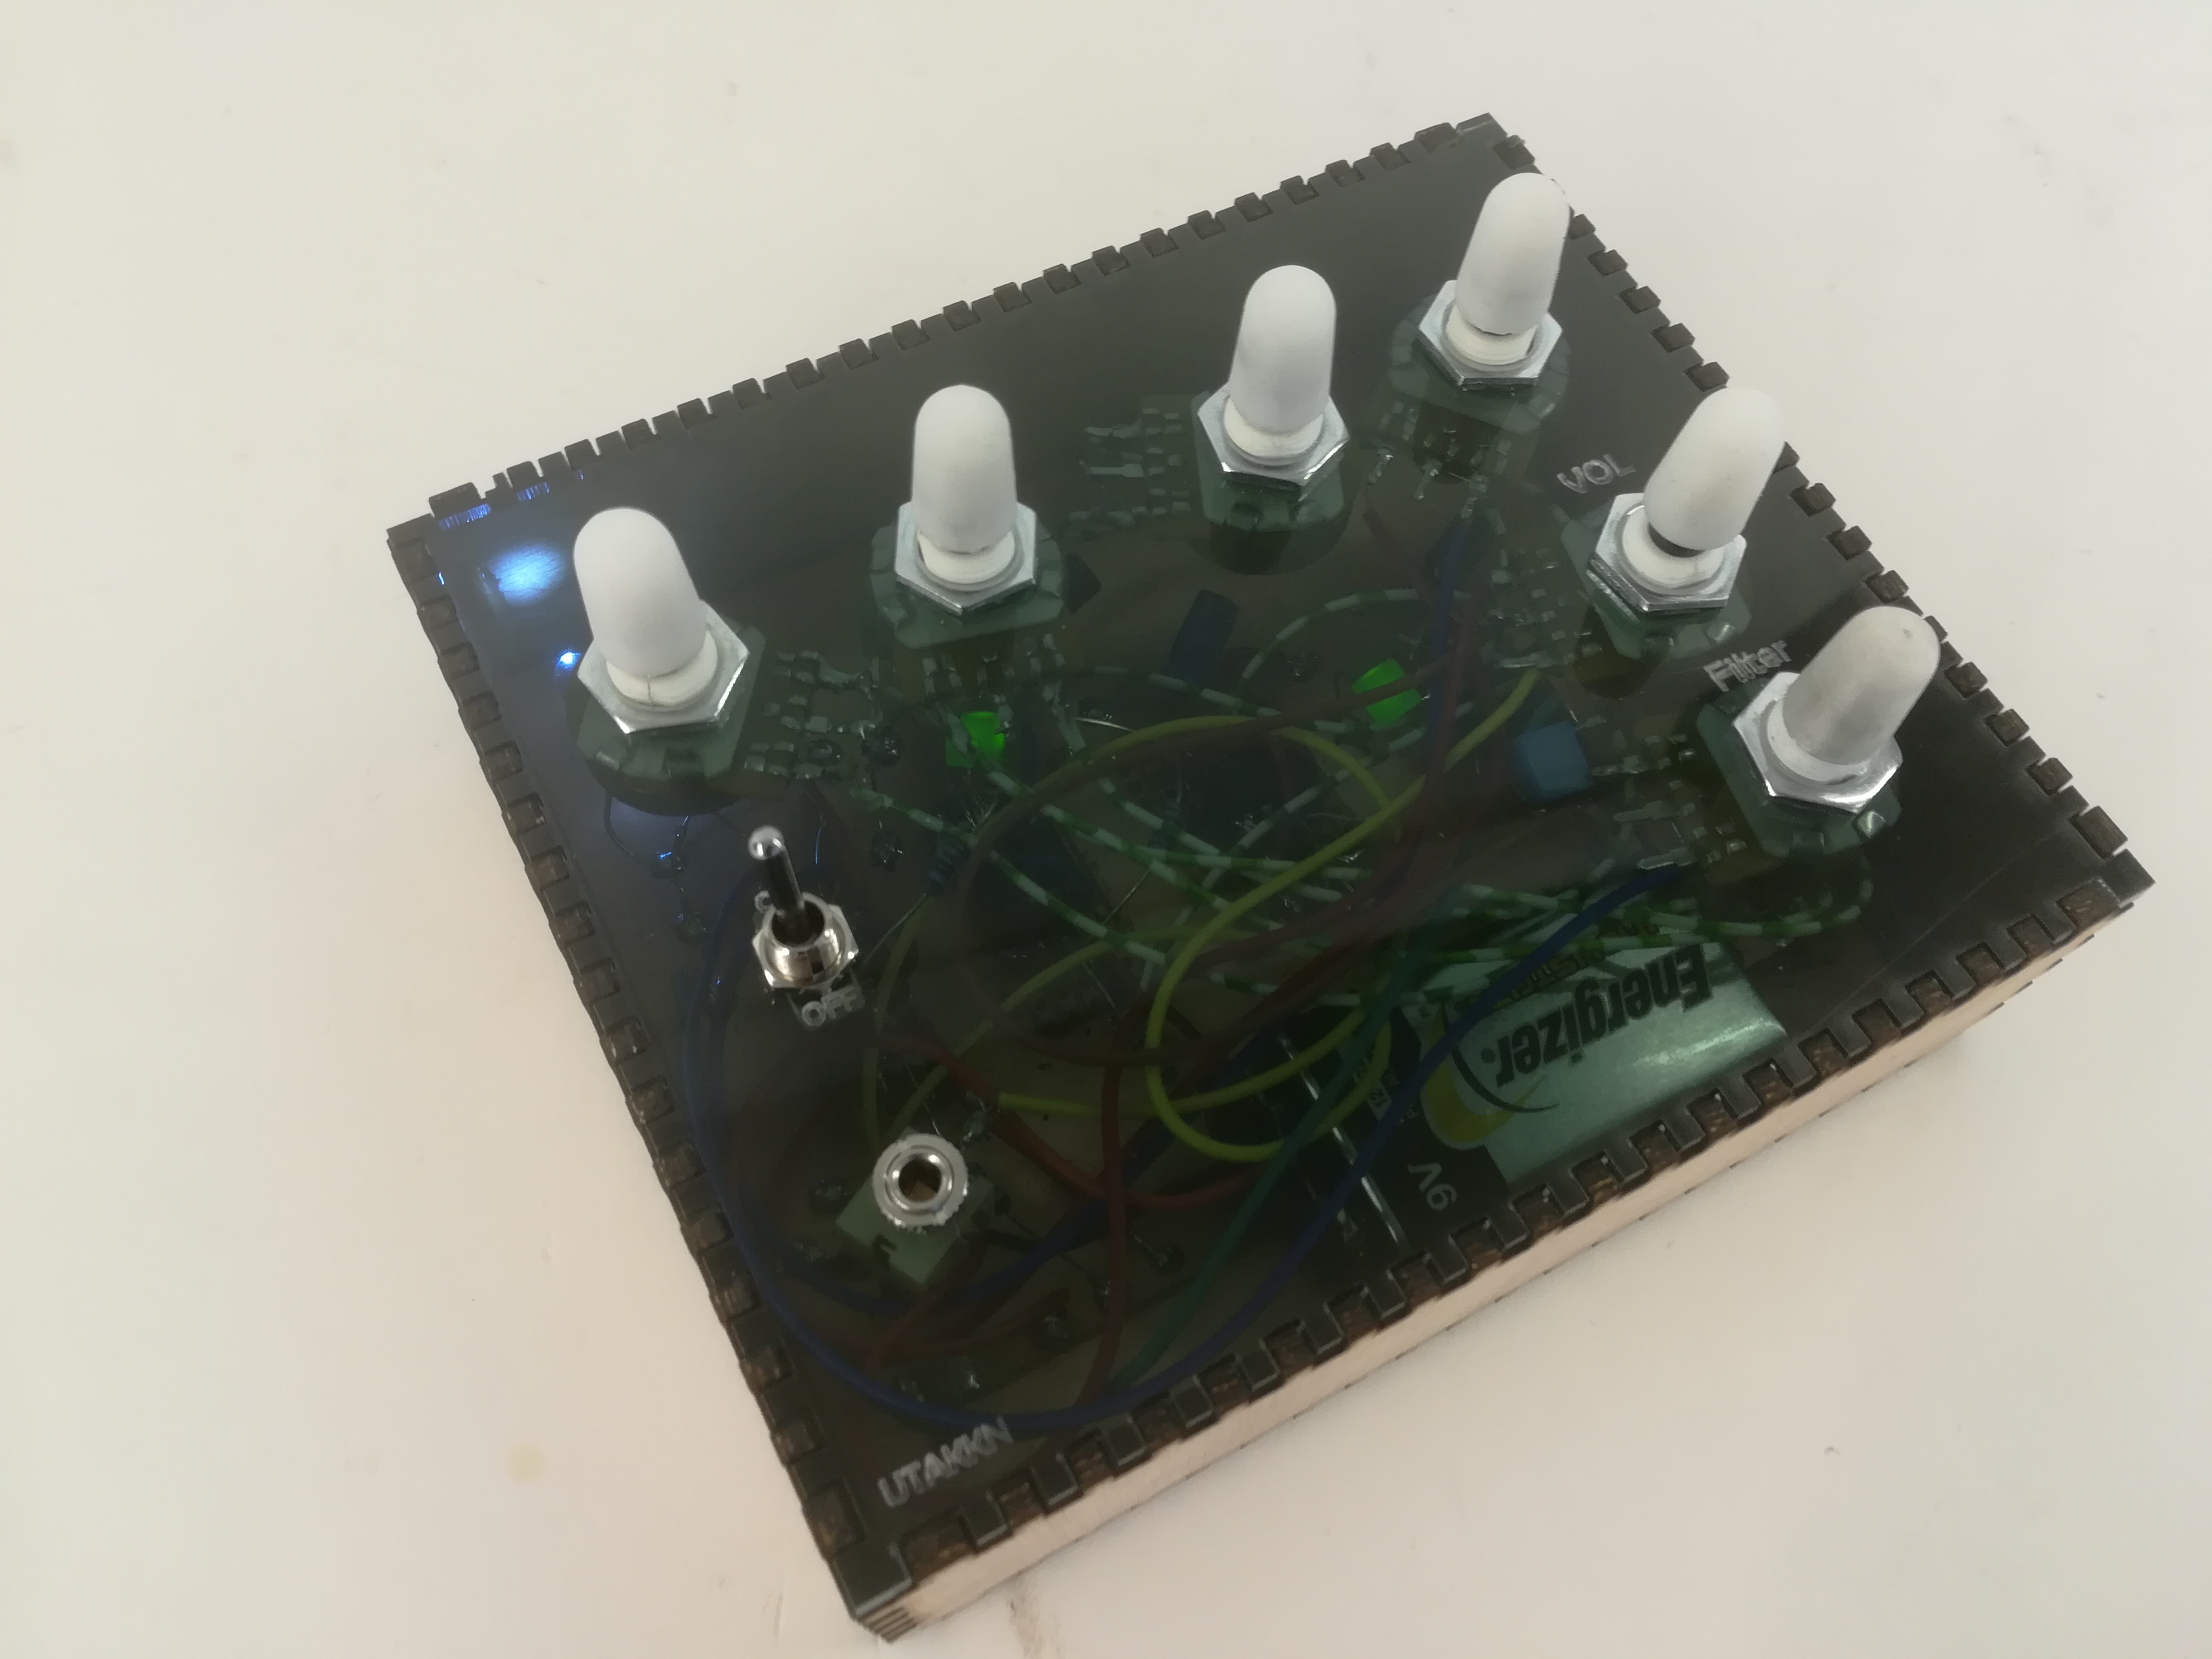
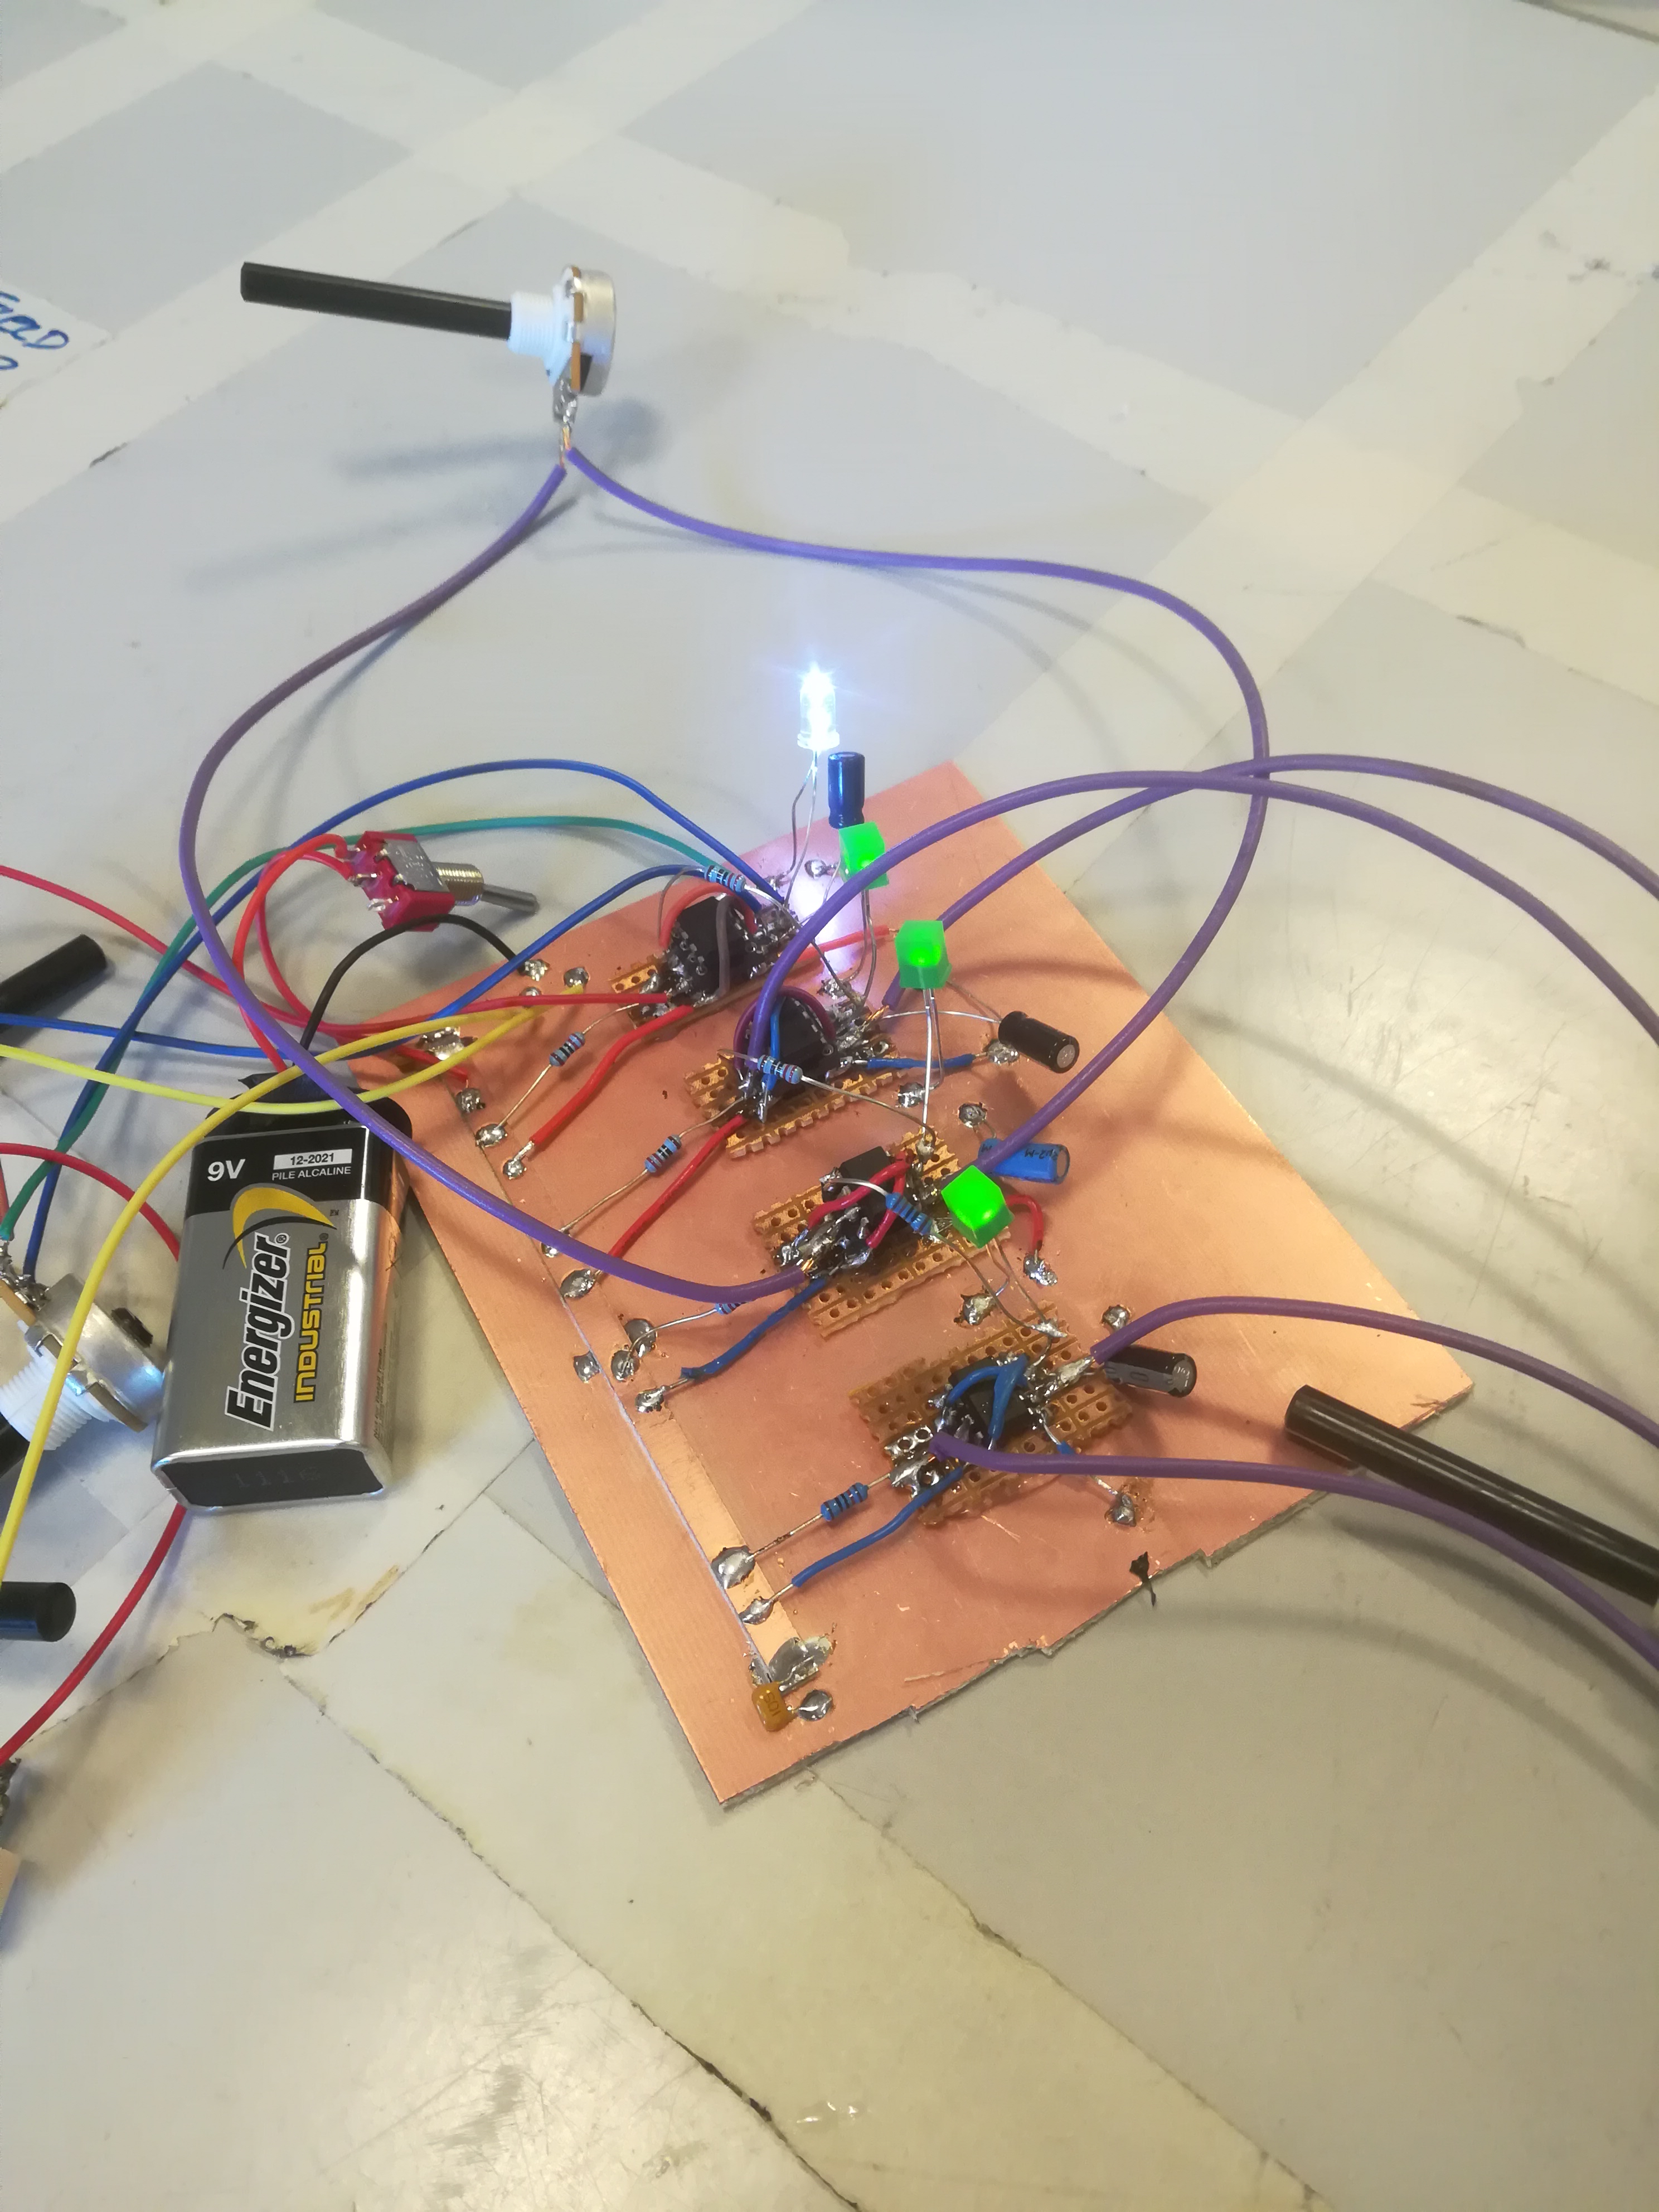
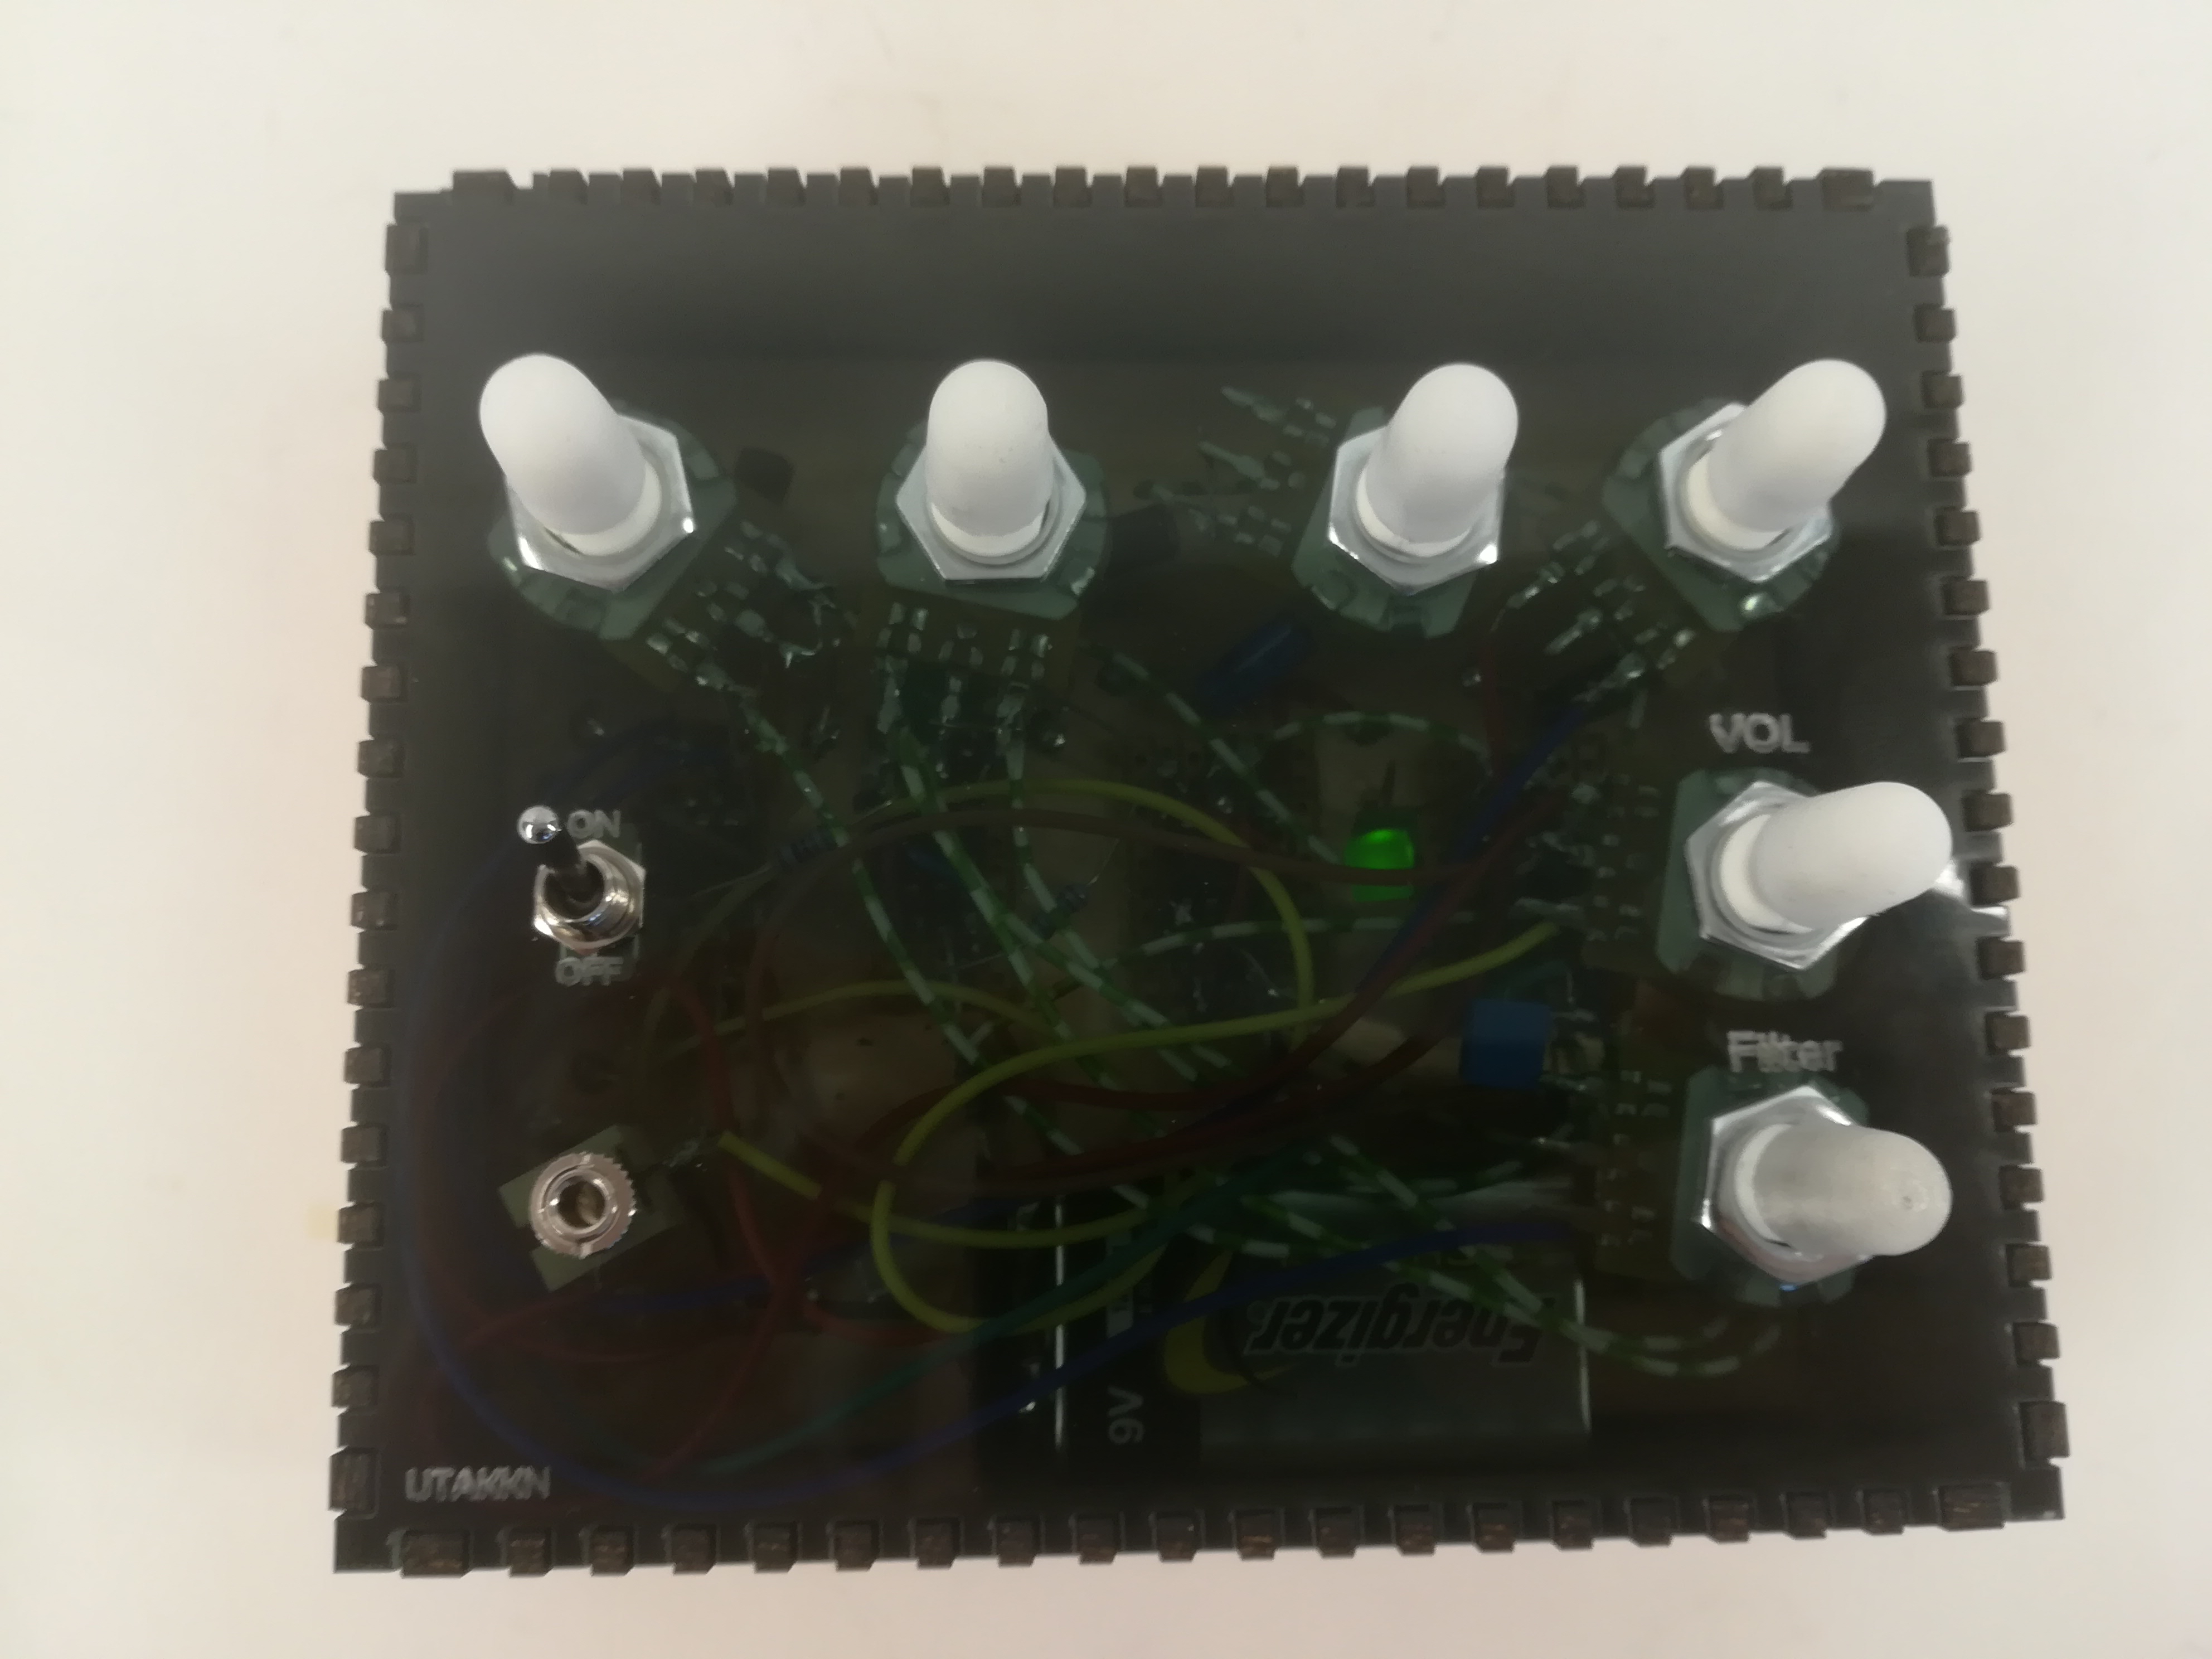
Among all these instruments, my favorite one is the one below. I haven't give it a name, but I can call it LFOSeries.
It started as a proof-of-concept and a way to learn how to use 505 timers and ended up as a nice sounding kind of drone synth.
I did use this schematic,
I added a low-pass filter and a volume knob to better shape the sound.
I usually play this instrument through a delay or reverb circuit to create a more full sound.
This instrument, as the DroneBox is very nice looking when you play it because has 3 green LEDs and a white one that blinks according to the 505 timer frequency.
I also create a very simple design for the knobs in Fusion 360 and I 3D printed them.
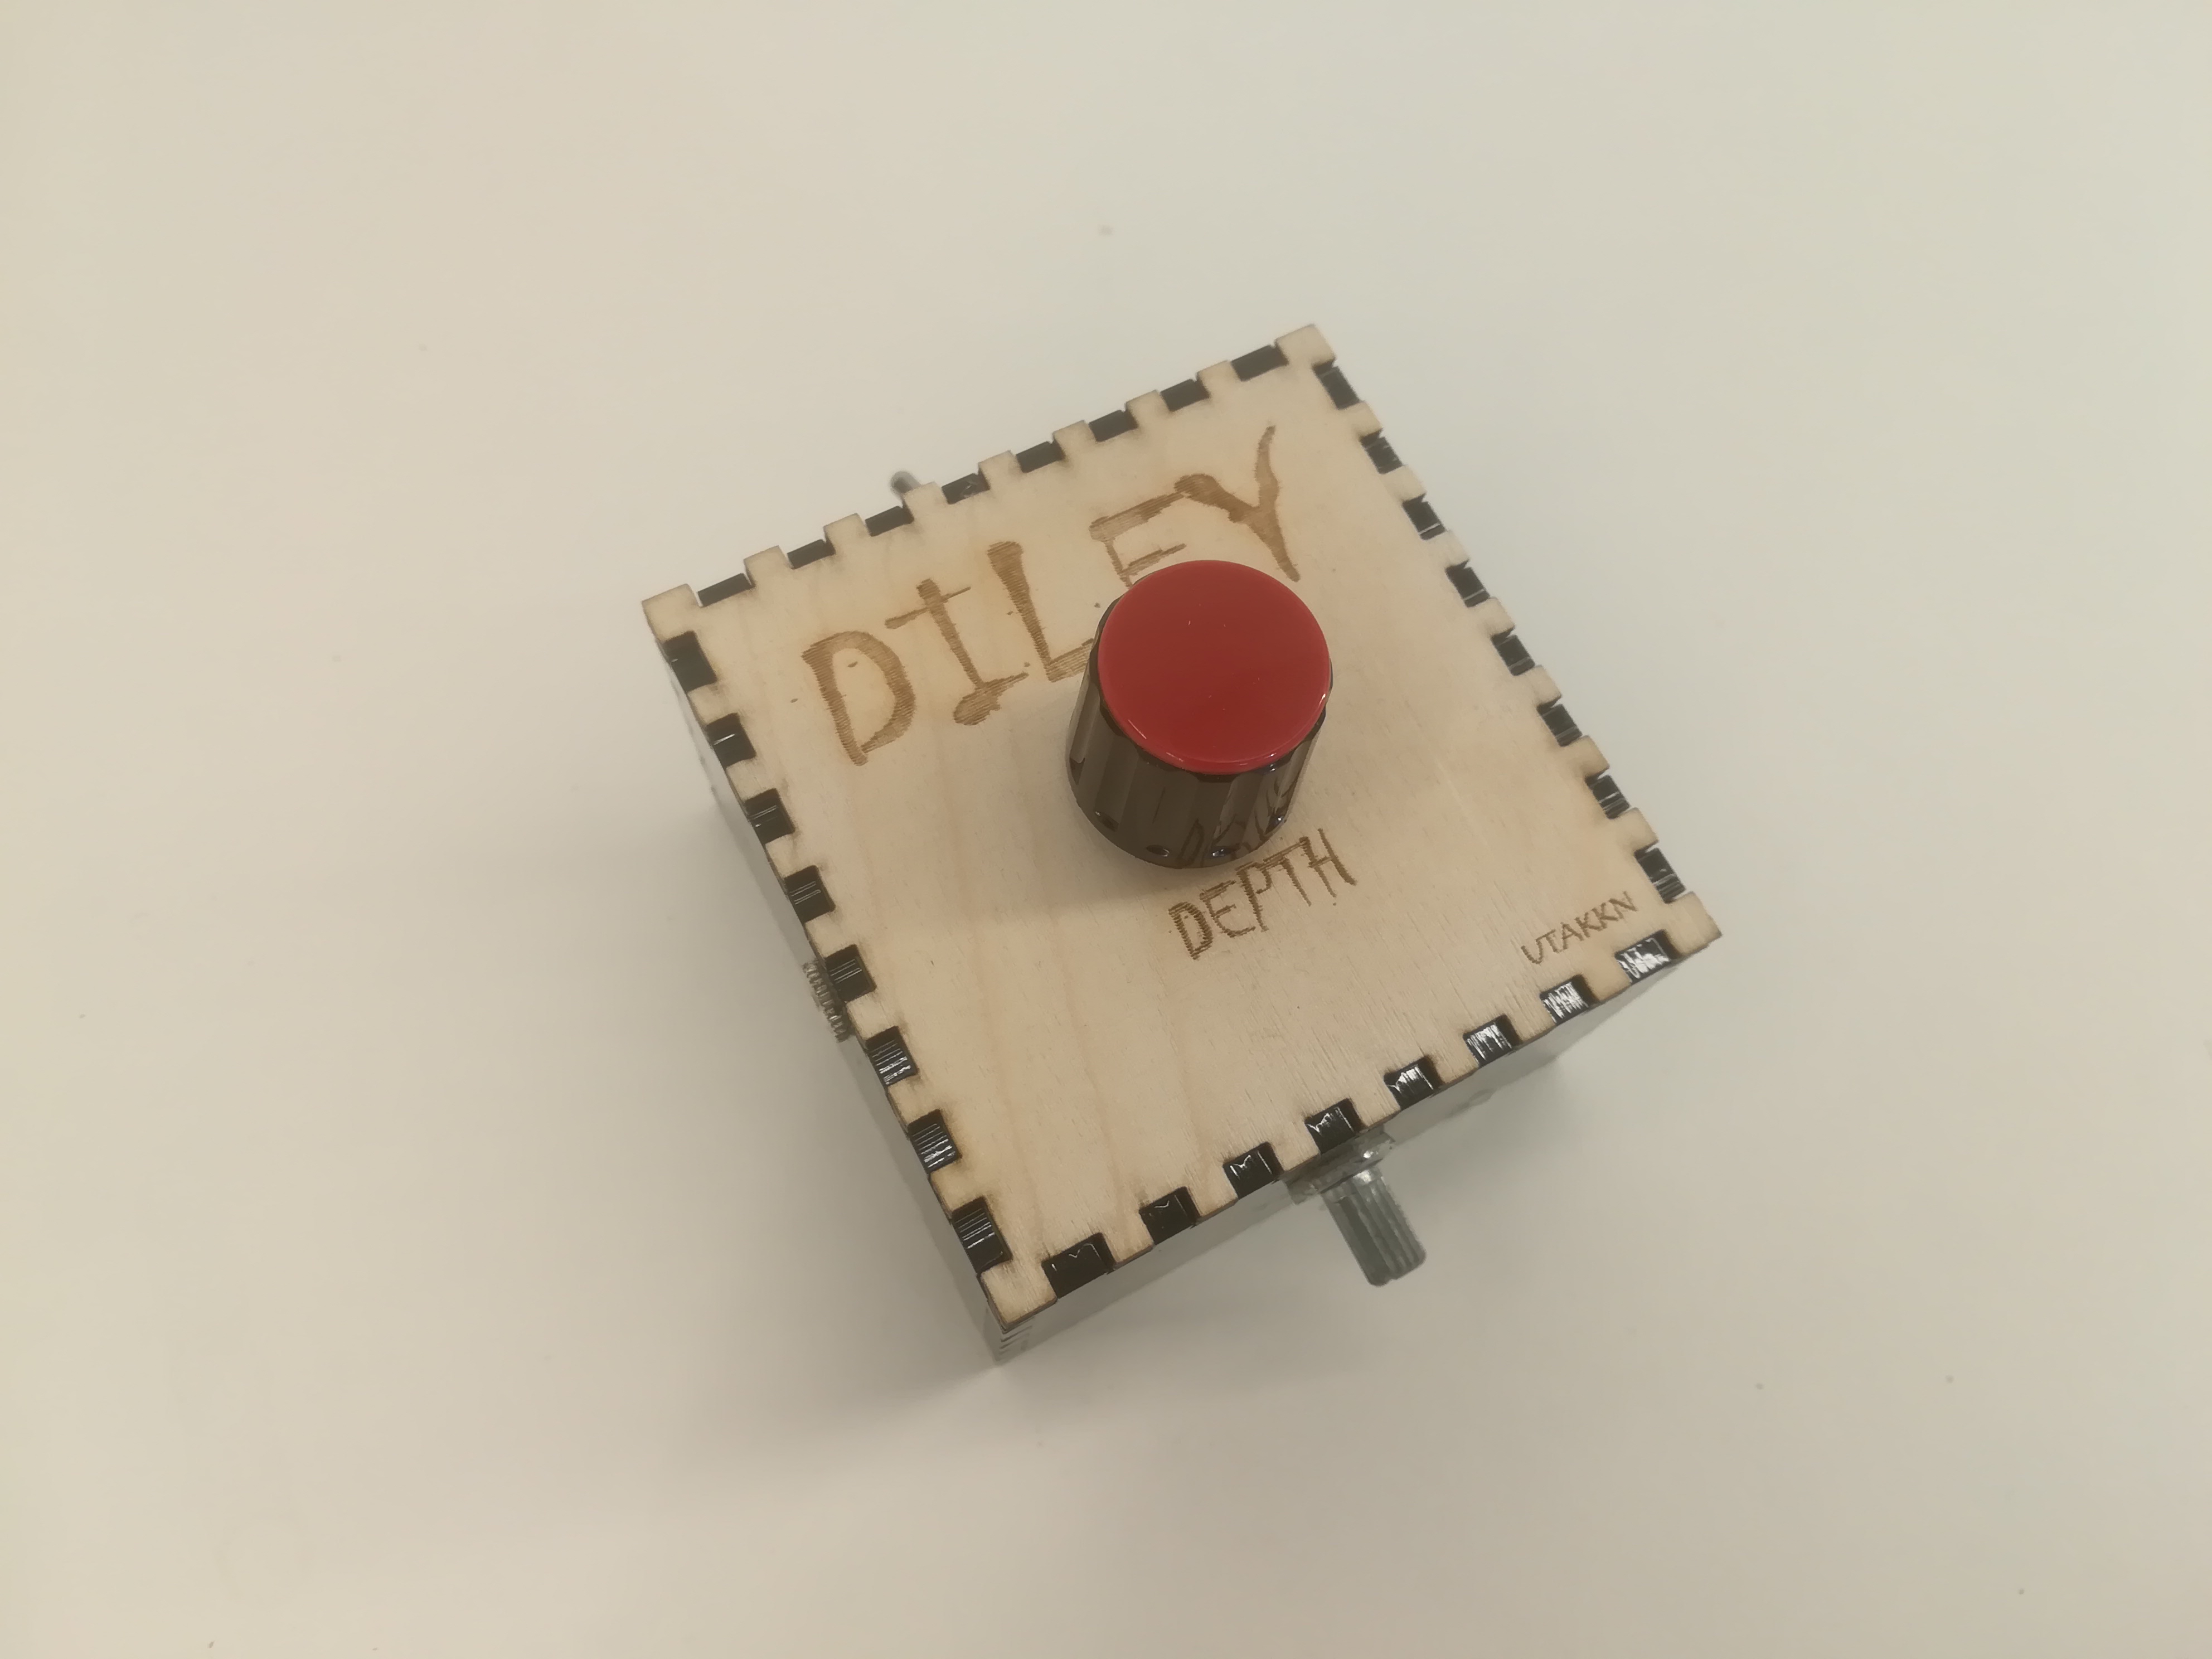
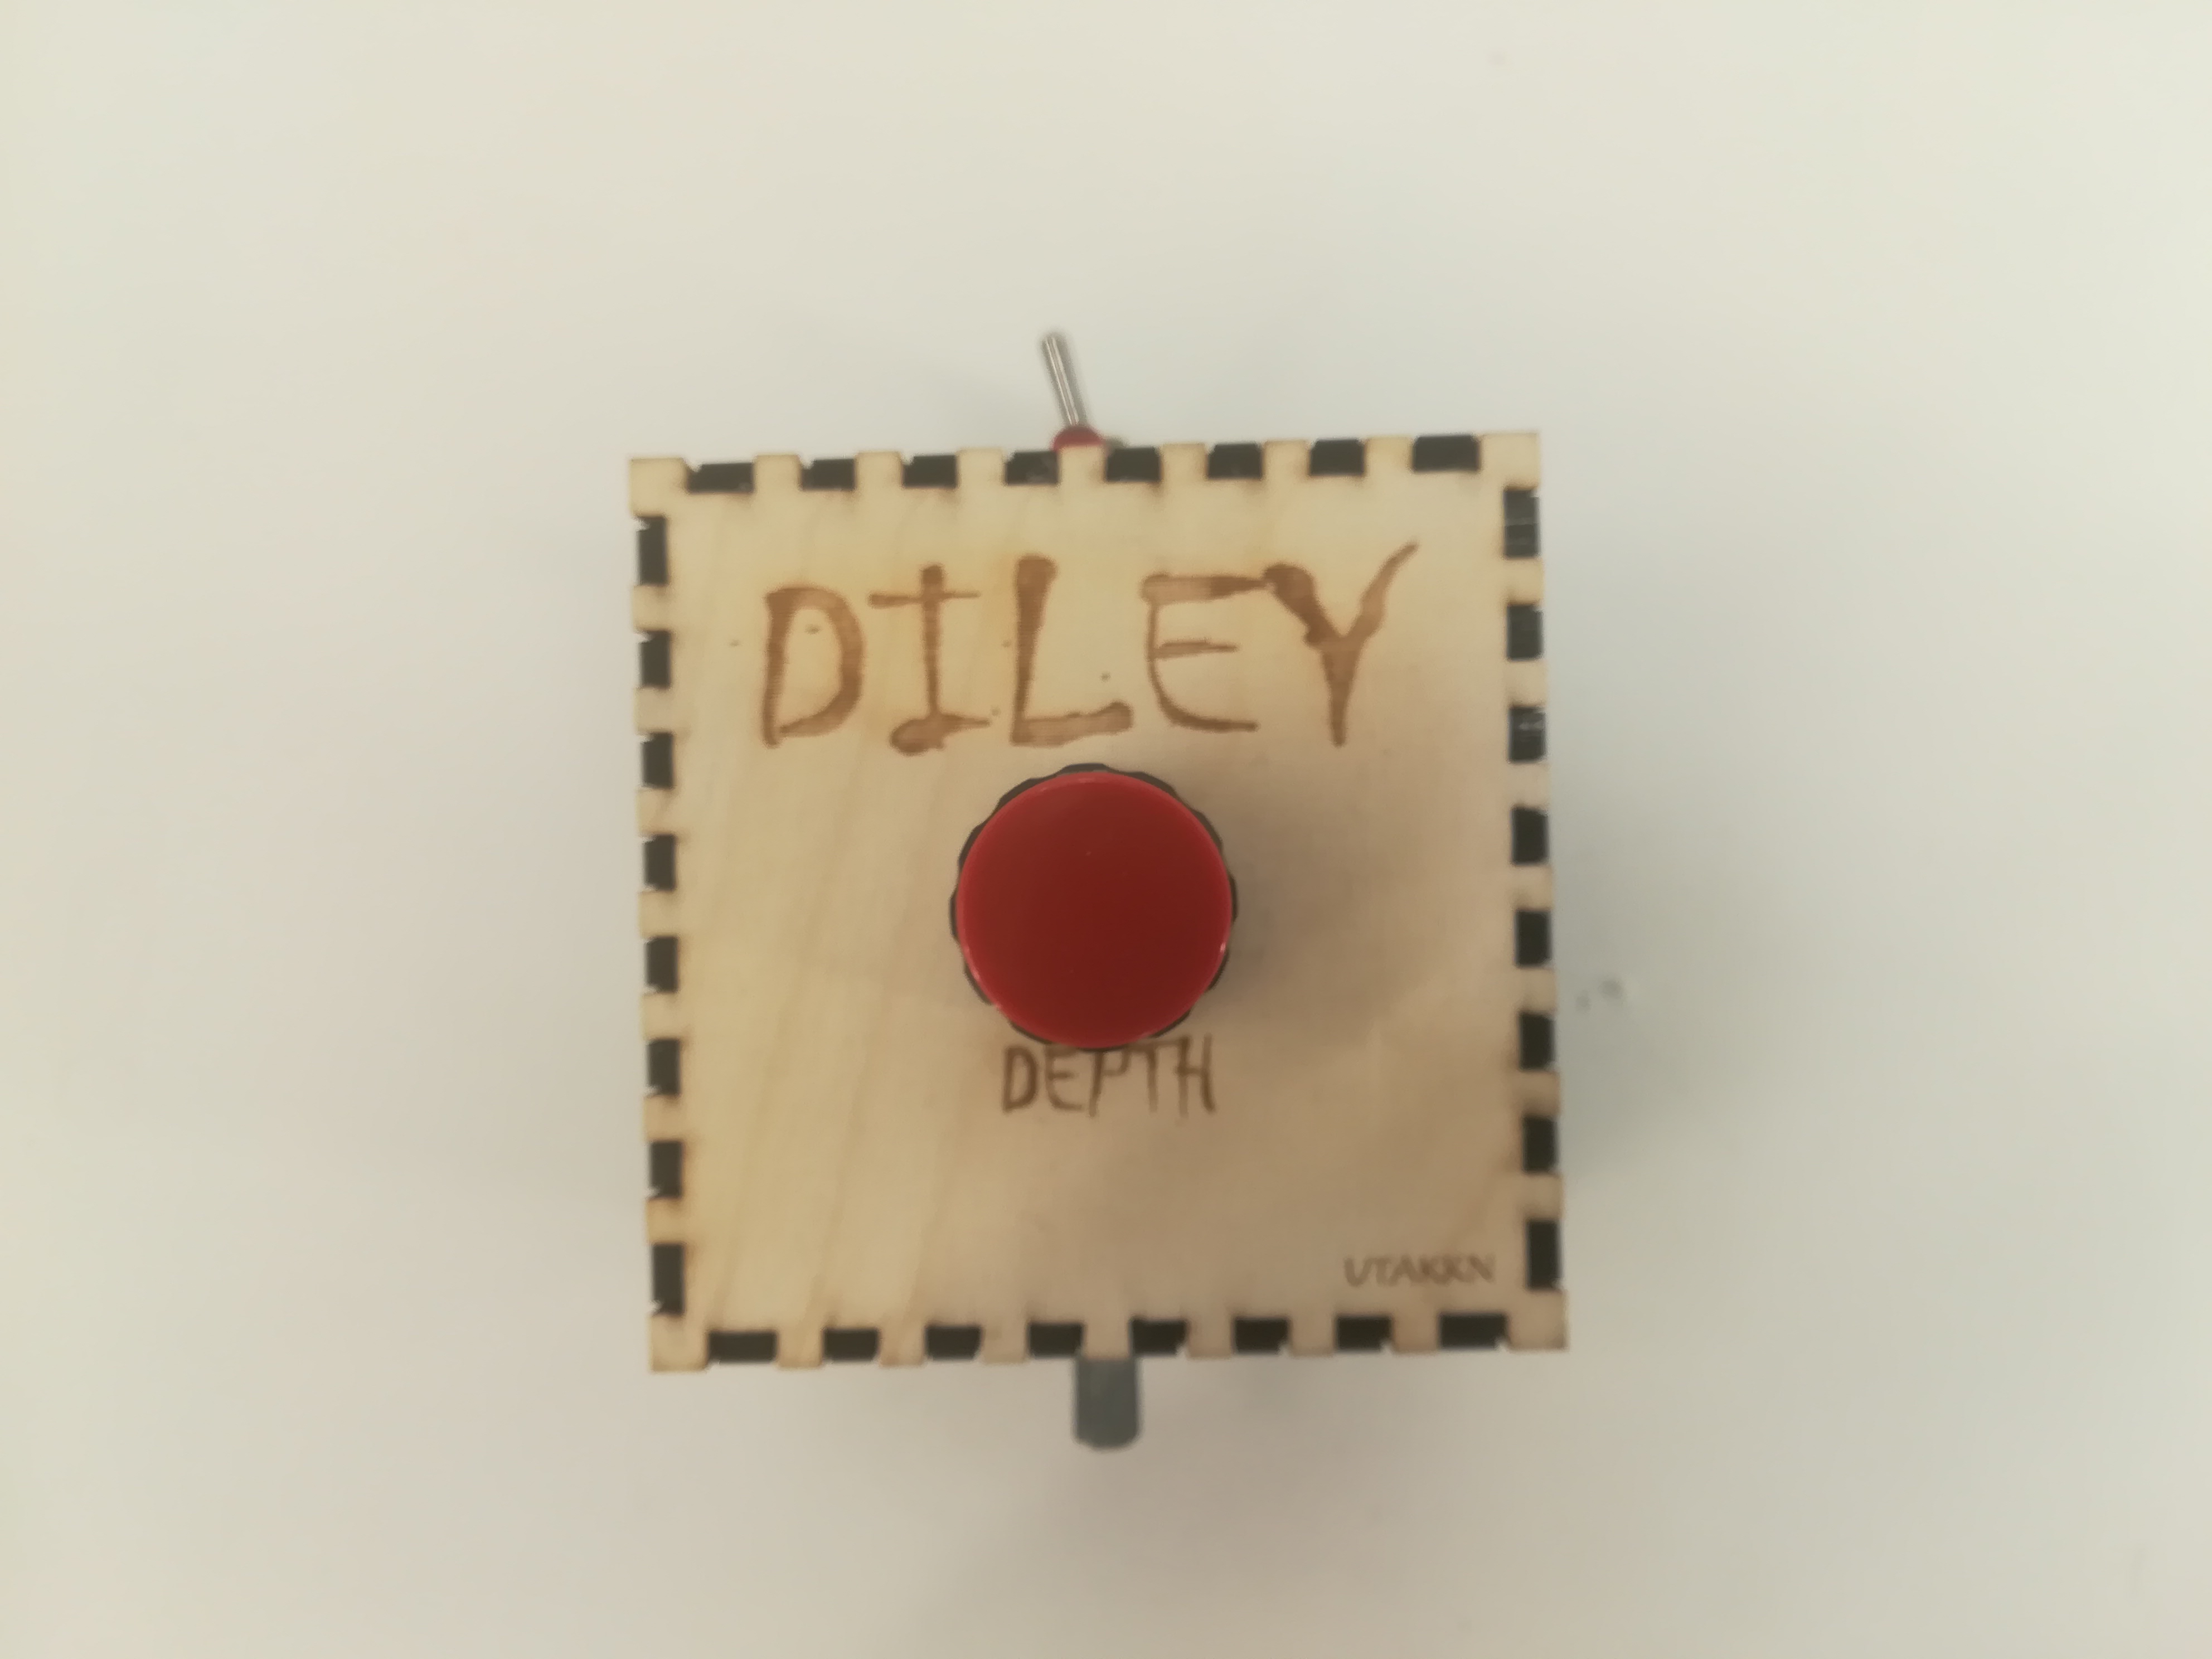
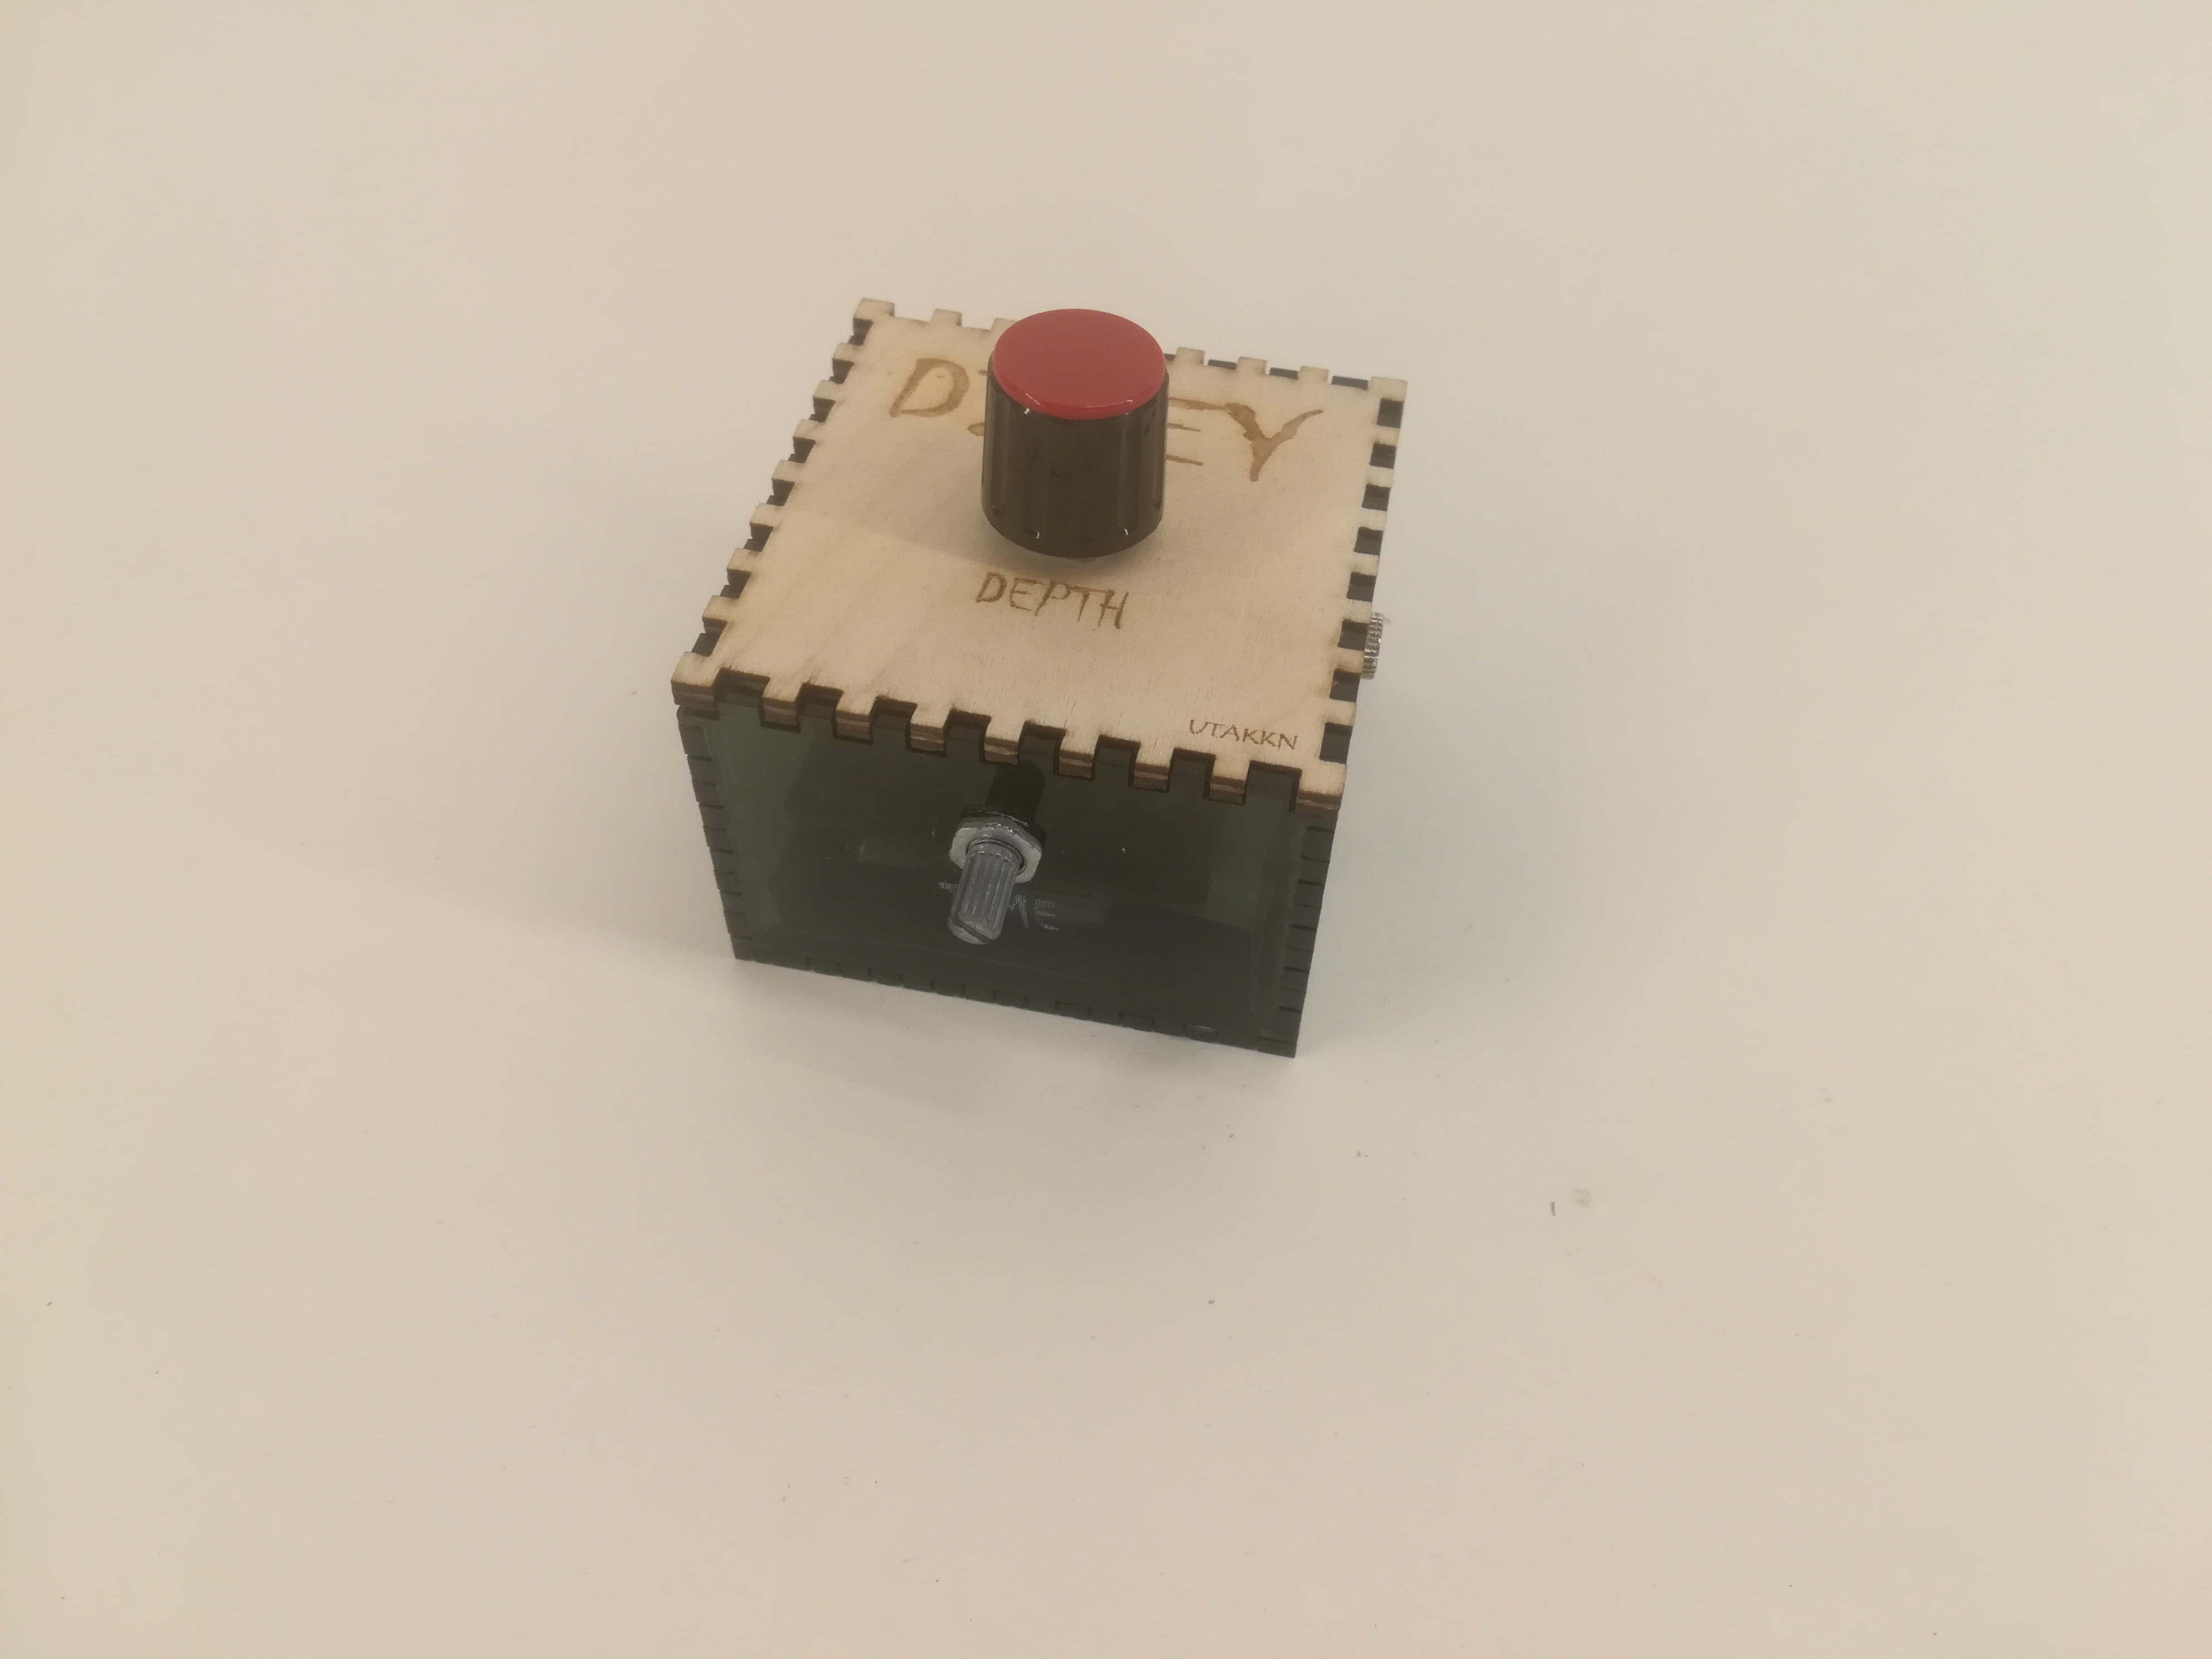
My last work with electronics at the Fablab was the "Diley". For this project I used the PT2399 reverb plate. This board is actually a reverb, but it can work also as a delay. I didn't want to connect an arduino to it to extend the delay time, because I wanted to leave it analog though the circuit itself has a ADC and DAC converter. So I just followed the plate guide to add the depth of the reverb replacing a resistor with a potentiometer.